



How to install WordPress in CloudPanel (one-click)
CloudPanel has a built-in WordPress installer: it creates the site user, the database and a fully configured WordPress install in one step, with no setup wizard. Here's the whole process on CloudPanel 2.5.4 (Ubuntu 24.04).
You'll need: a domain whose DNS A record points to your server (needed for SSL afterwards).
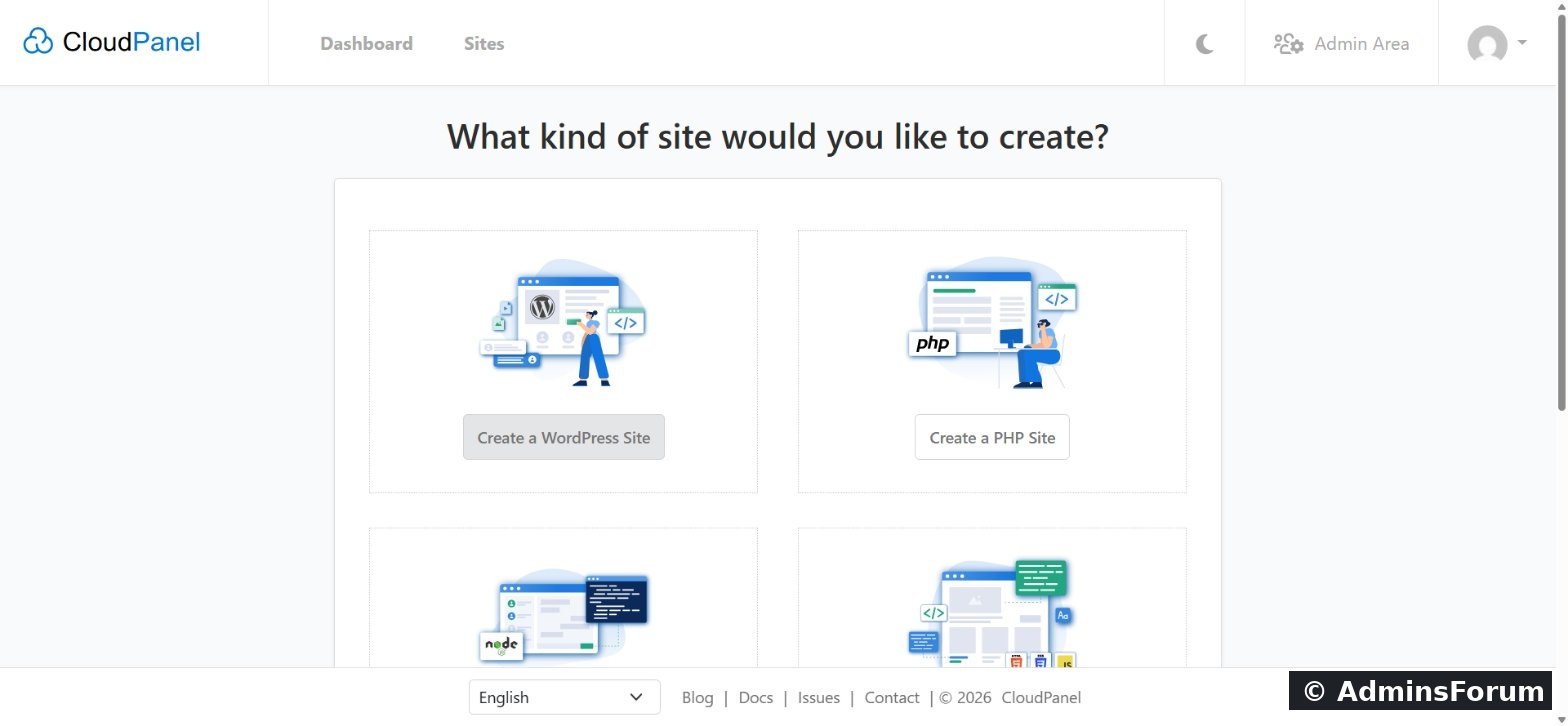
Step 1: Sites → Add Site → Create a WordPress Site
Open Sites, click + Add Site and choose Create a WordPress Site.
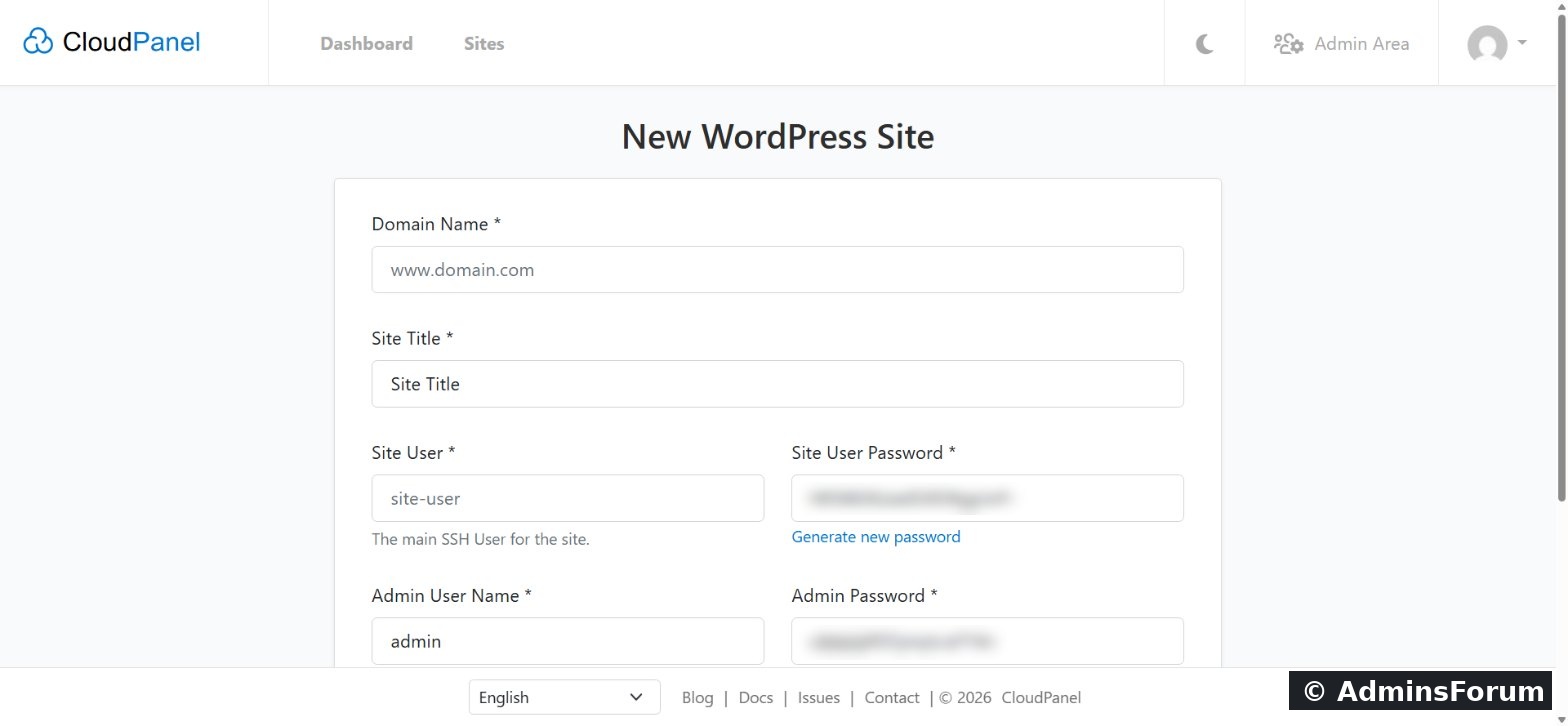
Step 2: Domain and site title
Enter the domain name and a Site Title. The title is just WordPress's site name; you can change it later in WordPress settings.
Step 3: Site user and WordPress admin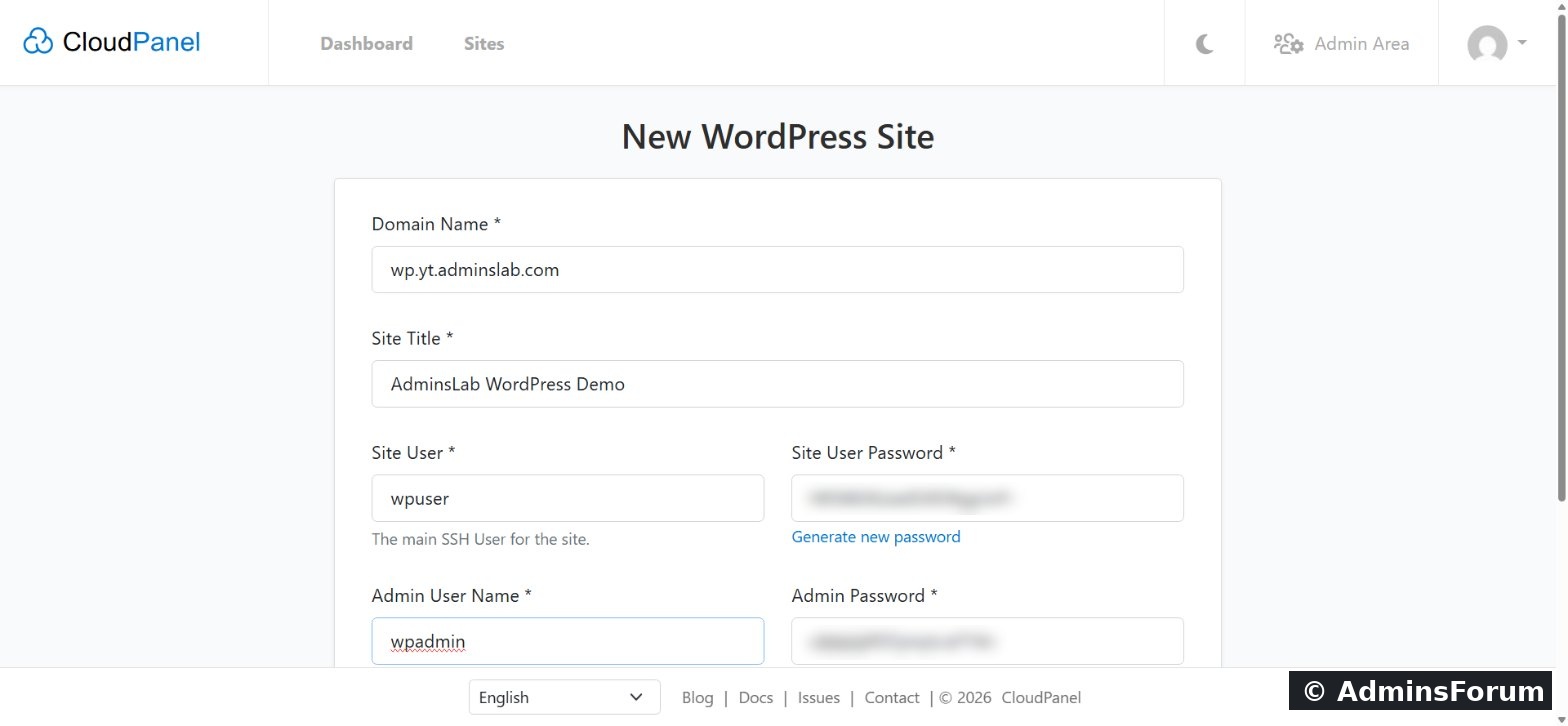
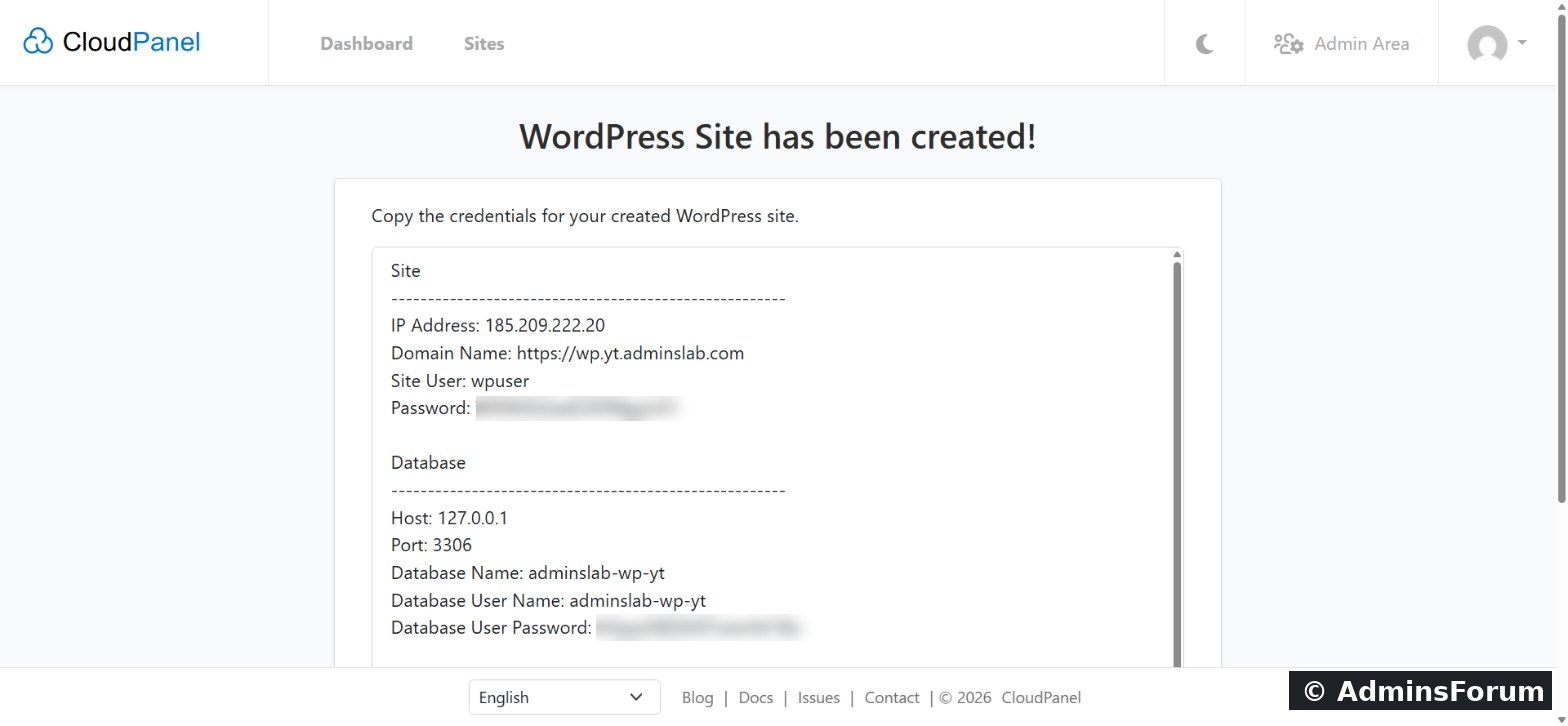
Step 4: Copy your credentials (shown once!)
CloudPanel shows everything on one page: the site user and password, the database name, user and password, and further down the WordPress admin login. Copy them into a password manager now; they're only shown once.
Step 5: The site is ready
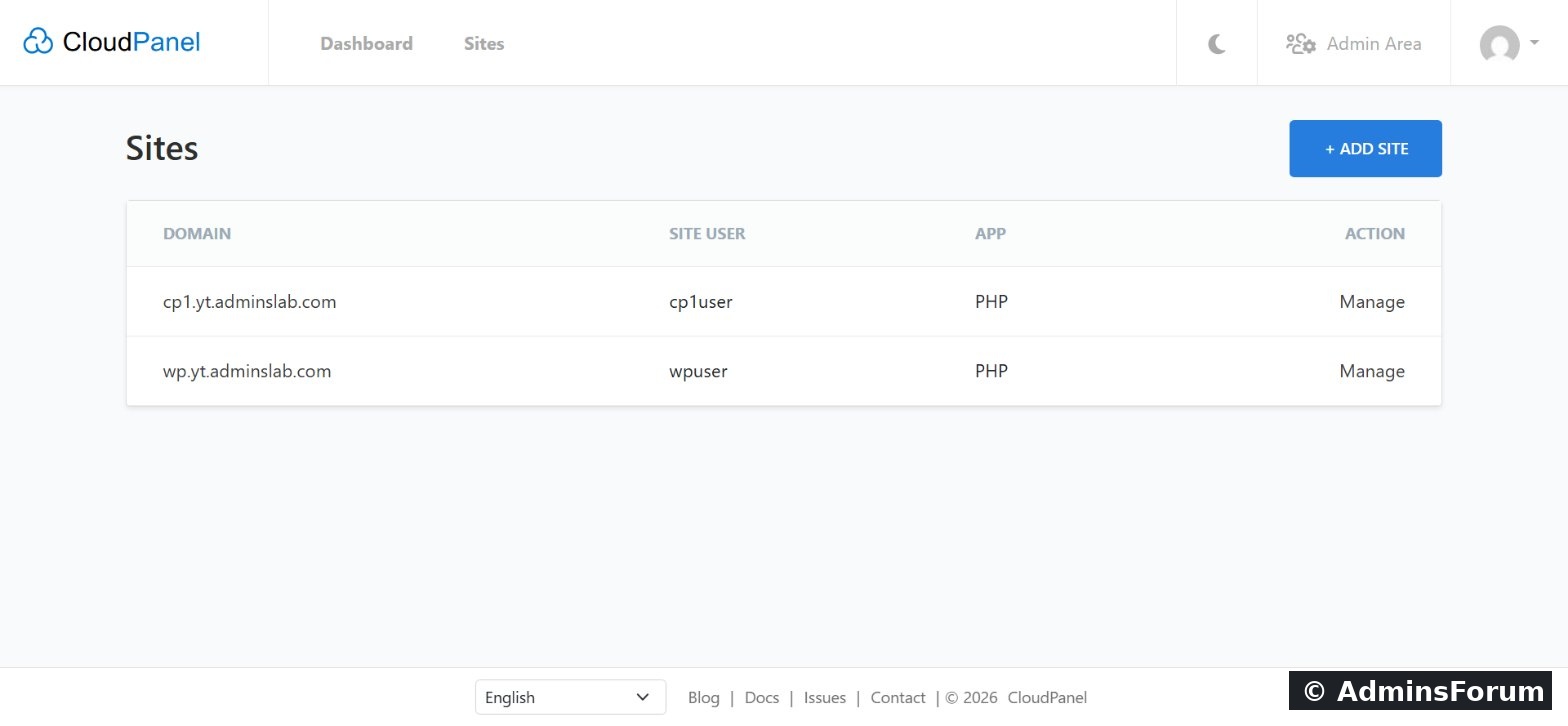
Back in the sites list, the WordPress site has its own site user, separate from your other sites.
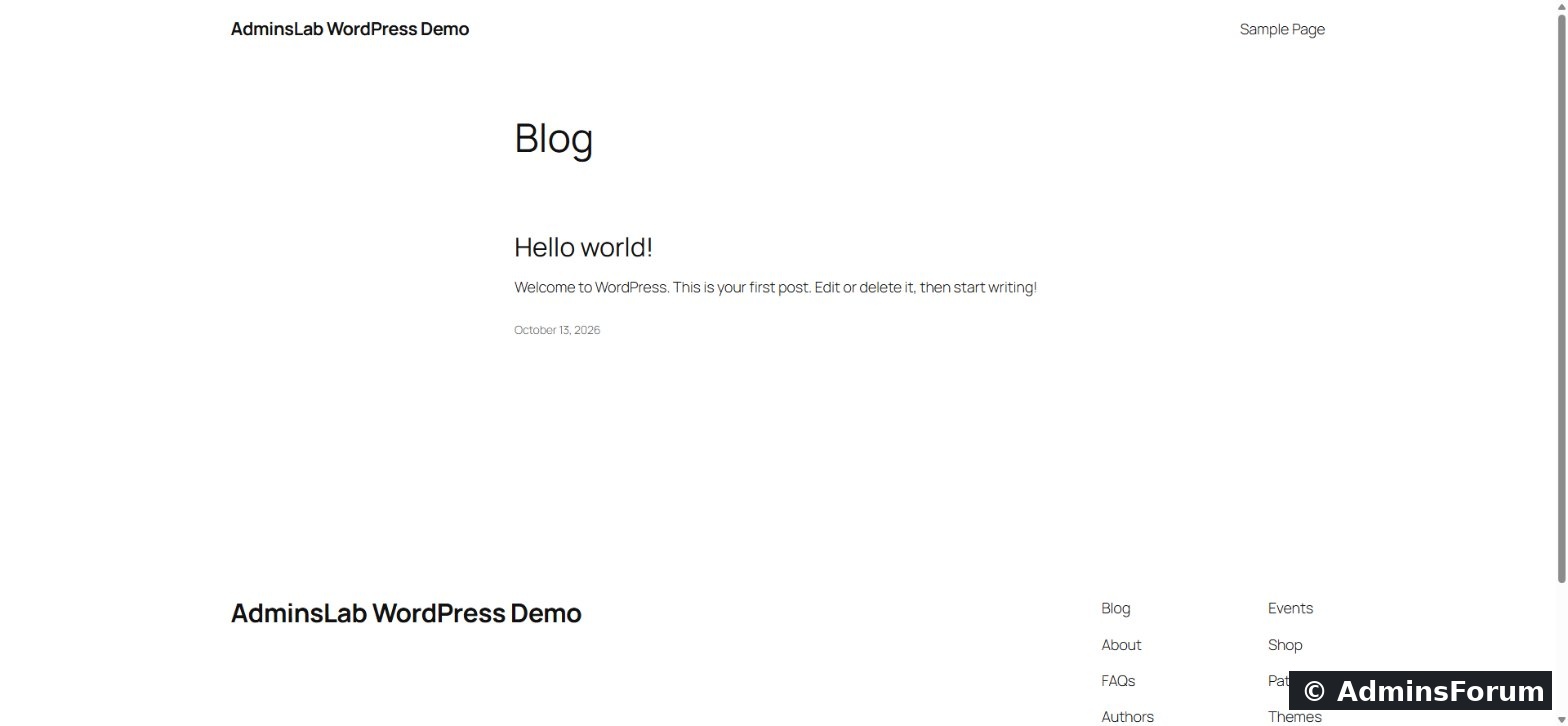
Visit the domain: WordPress is already installed and configured.
Step 6: Log in to WordPress
Go to
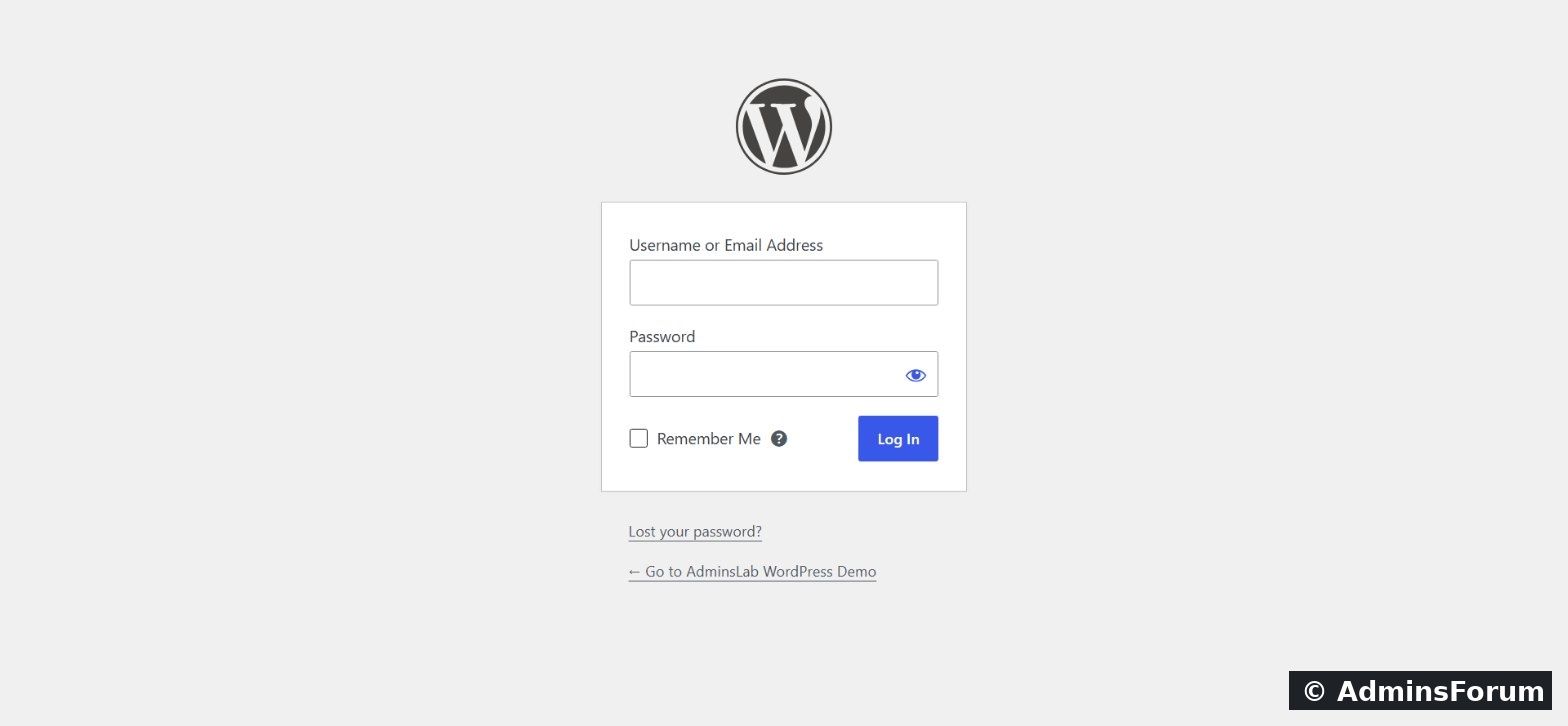
and log in with the admin user and password from Step 4.
Step 7: Add free SSL
Open the site's SSL/TLS tab and issue a Let's Encrypt certificate. See our guide How to install a free Let's Encrypt SSL certificate in CloudPanel.
Recommended tweaks
Questions? Post in CloudPanel WordPress Support.
CloudPanel guide series
CloudPanel has a built-in WordPress installer: it creates the site user, the database and a fully configured WordPress install in one step, with no setup wizard. Here's the whole process on CloudPanel 2.5.4 (Ubuntu 24.04).
You'll need: a domain whose DNS A record points to your server (needed for SSL afterwards).
Step 1: Sites → Add Site → Create a WordPress Site
Open Sites, click + Add Site and choose Create a WordPress Site.
Step 2: Domain and site title
Enter the domain name and a Site Title. The title is just WordPress's site name; you can change it later in WordPress settings.
Step 3: Site user and WordPress admin
- Site User: the Linux user that owns this site's files.
- Admin User Name: your WordPress login. Don't use "admin"; it's the first name attackers try.
- CloudPanel generates strong passwords for both. Click Create.
Step 4: Copy your credentials (shown once!)
CloudPanel shows everything on one page: the site user and password, the database name, user and password, and further down the WordPress admin login. Copy them into a password manager now; they're only shown once.
Step 5: The site is ready
Back in the sites list, the WordPress site has its own site user, separate from your other sites.
Visit the domain: WordPress is already installed and configured.
Step 6: Log in to WordPress
Go to
Code:
https://yourdomain.com/wp-adminStep 7: Add free SSL
Open the site's SSL/TLS tab and issue a Let's Encrypt certificate. See our guide How to install a free Let's Encrypt SSL certificate in CloudPanel.
Recommended tweaks
- Upload limits: if you'll upload big themes, plugins or media, raise upload_max_filesize and post_max_size in the site's Settings → PHP Settings.
- Real cron: replace WordPress's built-in cron with a real cron job every 5 minutes (covered in our cron, logs and Varnish guide).
- Varnish Cache: great for blogs and content sites; CloudPanel's CLP Varnish Cache plugin clears the cache when you publish.
- Backups: set up remote backups in the Admin Area before going live.
Questions? Post in CloudPanel WordPress Support.
CloudPanel guide series
- What is CloudPanel? Complete overview
- CloudPanel system requirements
- CloudPanel features: the complete list
- How to create a PHP site
- How to install free Let's Encrypt SSL
- How to install WordPress (one-click) (you are here)
- Databases, users and phpMyAdmin
- SSH, SFTP, FTP and File Manager
- Cron jobs, logs and Varnish Cache
- Backups, firewall and Basic Auth