



How to create a PHP site in CloudPanel
This guide walks through adding a PHP site in CloudPanel, from the Add Site button to tuning PHP and Nginx. It's tested on CloudPanel 2.5.4 on Ubuntu 24.04, and every screenshot is from that server.
You'll need: CloudPanel installed and your admin login, plus a domain (or subdomain) you control. Pointing its DNS A record at the server now saves time later when you add SSL.
Step 1: Open Sites → Add Site
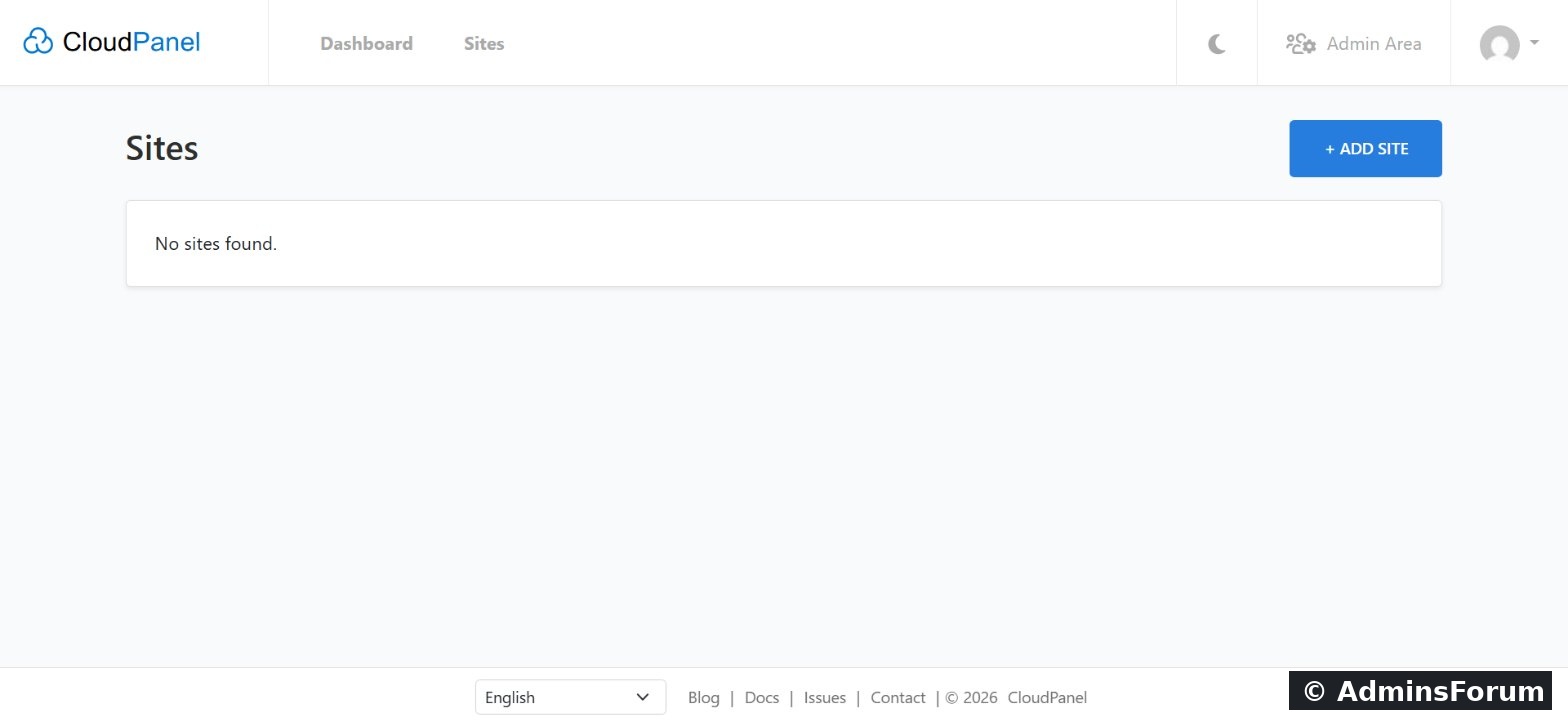
Log in to CloudPanel, open Sites and click + Add Site.
Step 2: Choose "Create a PHP Site"
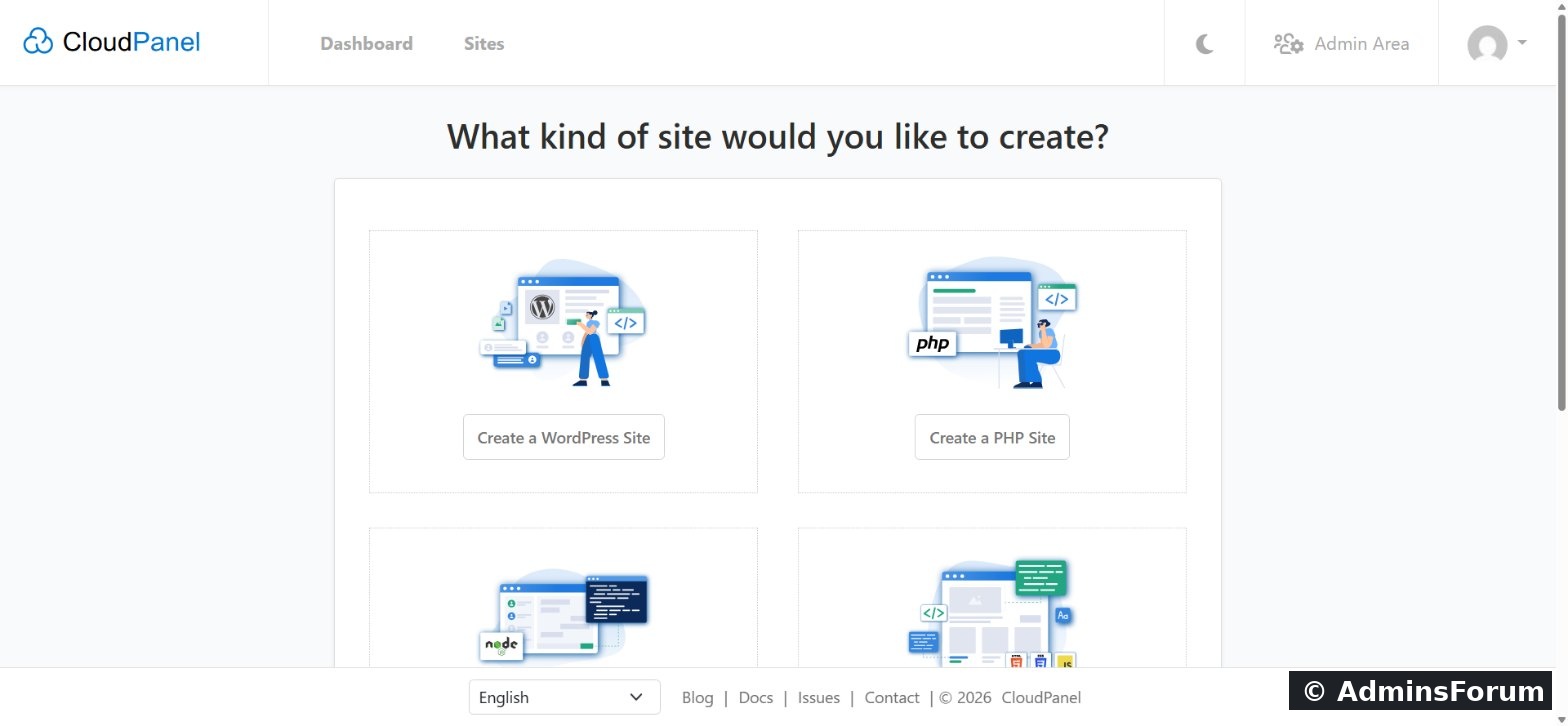
CloudPanel asks what kind of site you want. WordPress has its own one-click option (see our WordPress guide); for any other PHP code choose Create a PHP Site.
Step 3: Pick the application
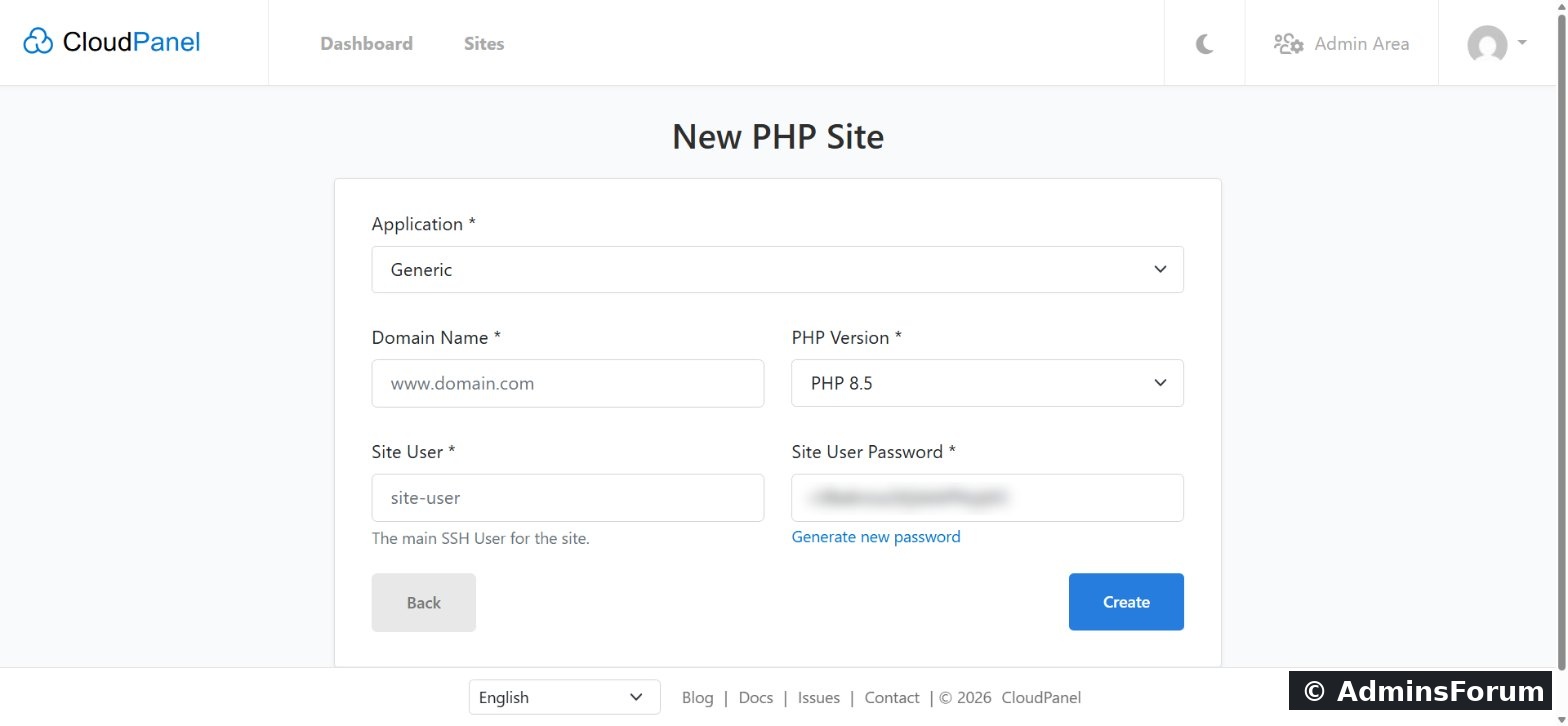
The Application menu writes the right Nginx configuration for you. Generic works for most PHP code. For frameworks and shops pick the matching template (Laravel, Symfony, Magento, WooCommerce and others) so the rewrite rules are correct from the start.
Step 4: Domain, PHP version and site user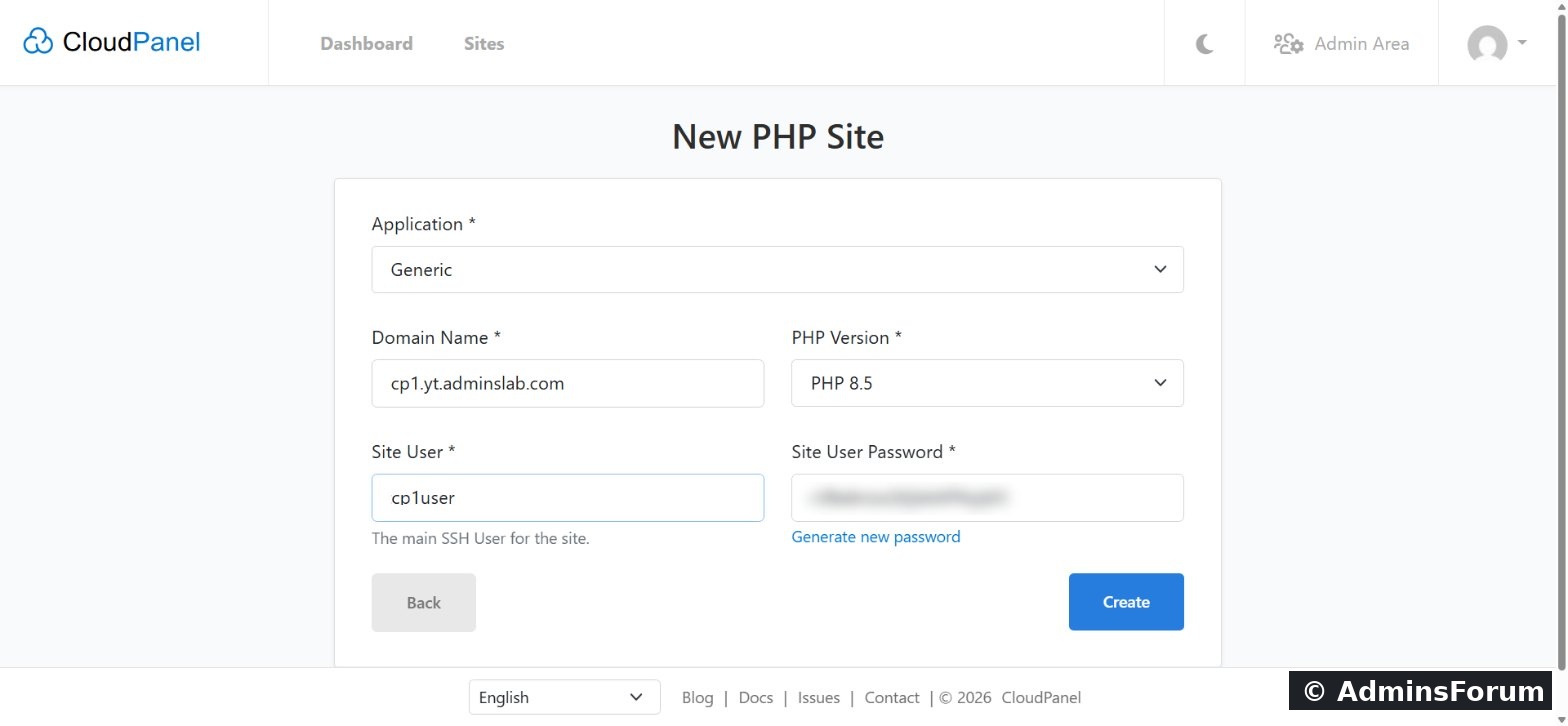
Step 5: The site is created
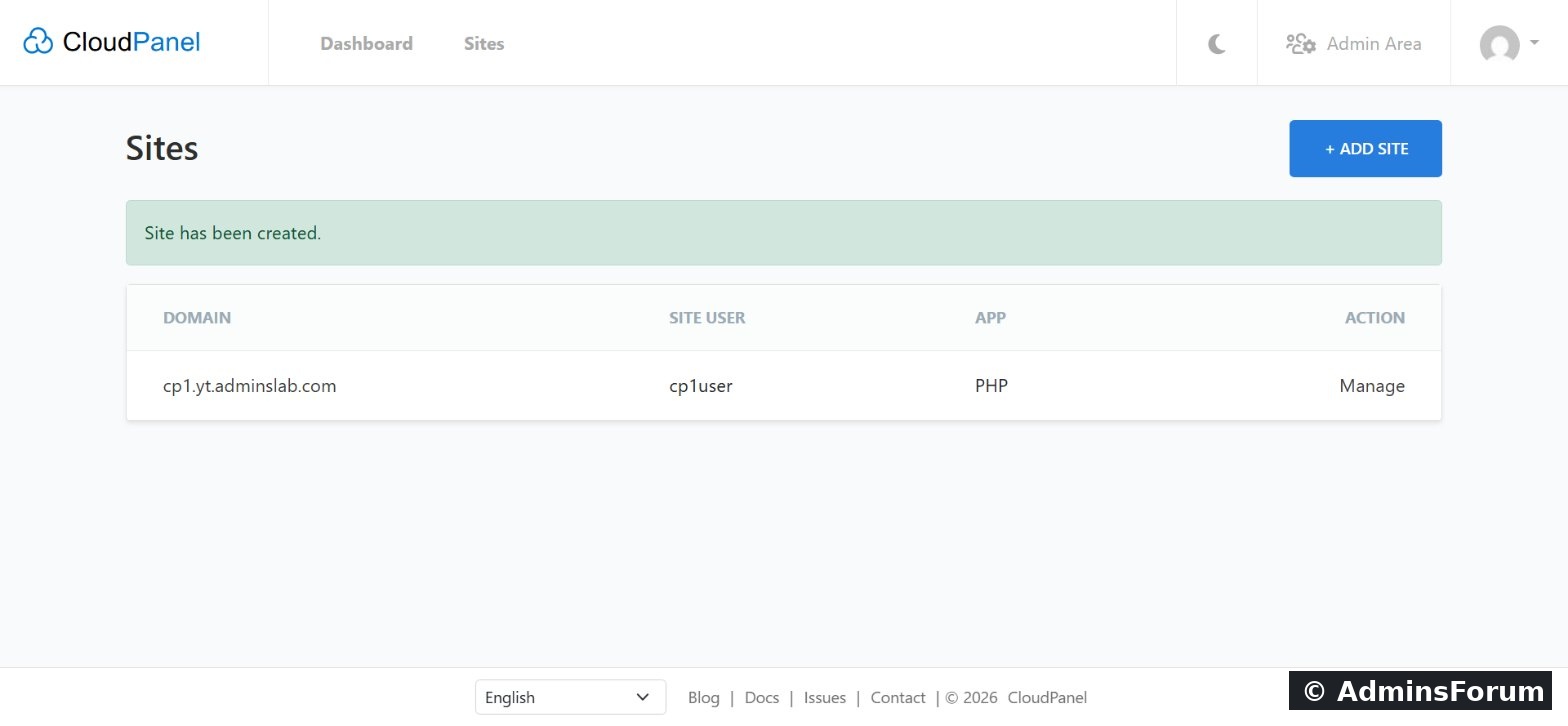
A few seconds later the site appears in the list with its site user and app type. Click Manage to open it.
Step 6: Check the root directory
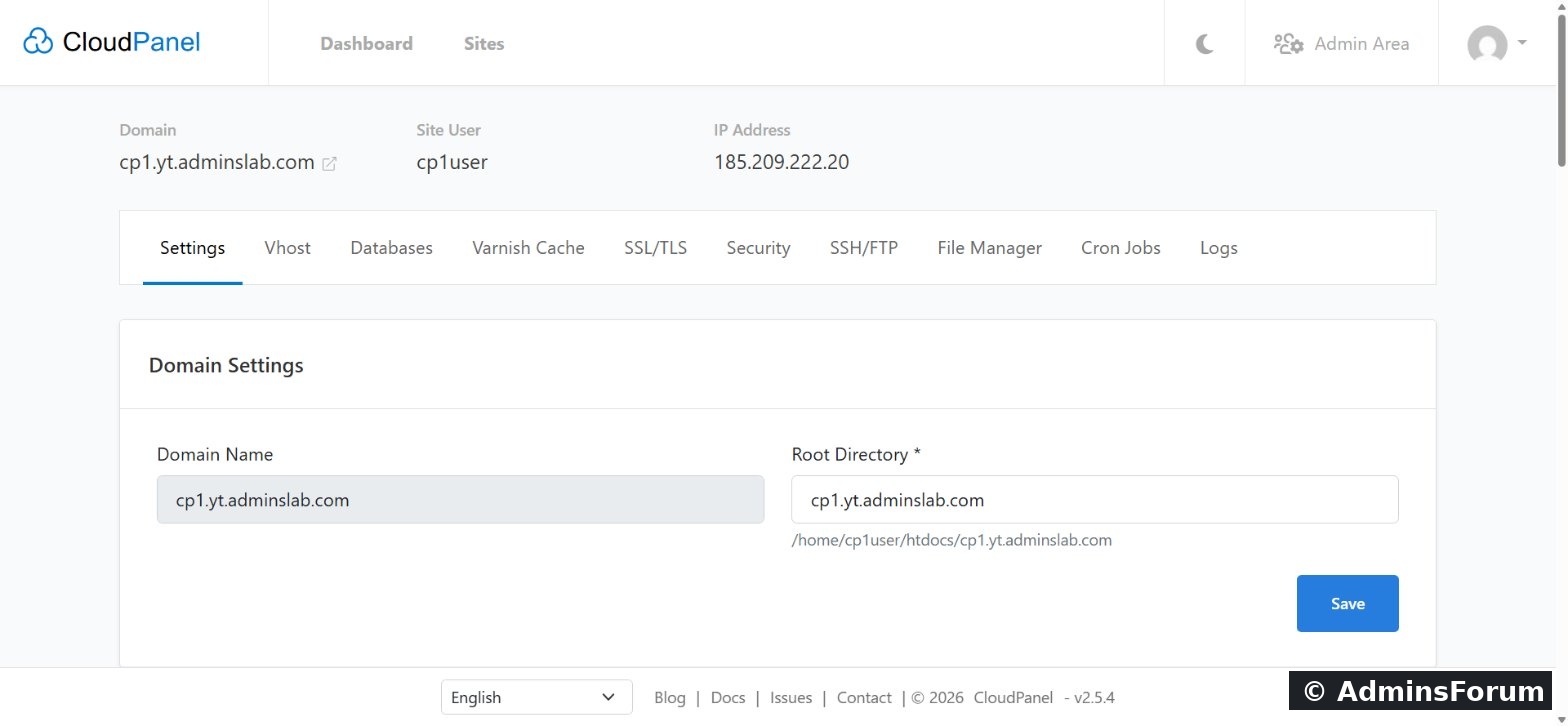
The Settings tab shows the domain and its Root Directory. Frameworks like Laravel serve from a
subfolder, so change it here if your app needs that.
Underneath is the full path where your code goes:
Upload your files there over SFTP or with the File Manager.
Step 7: Site user password and SSH keys
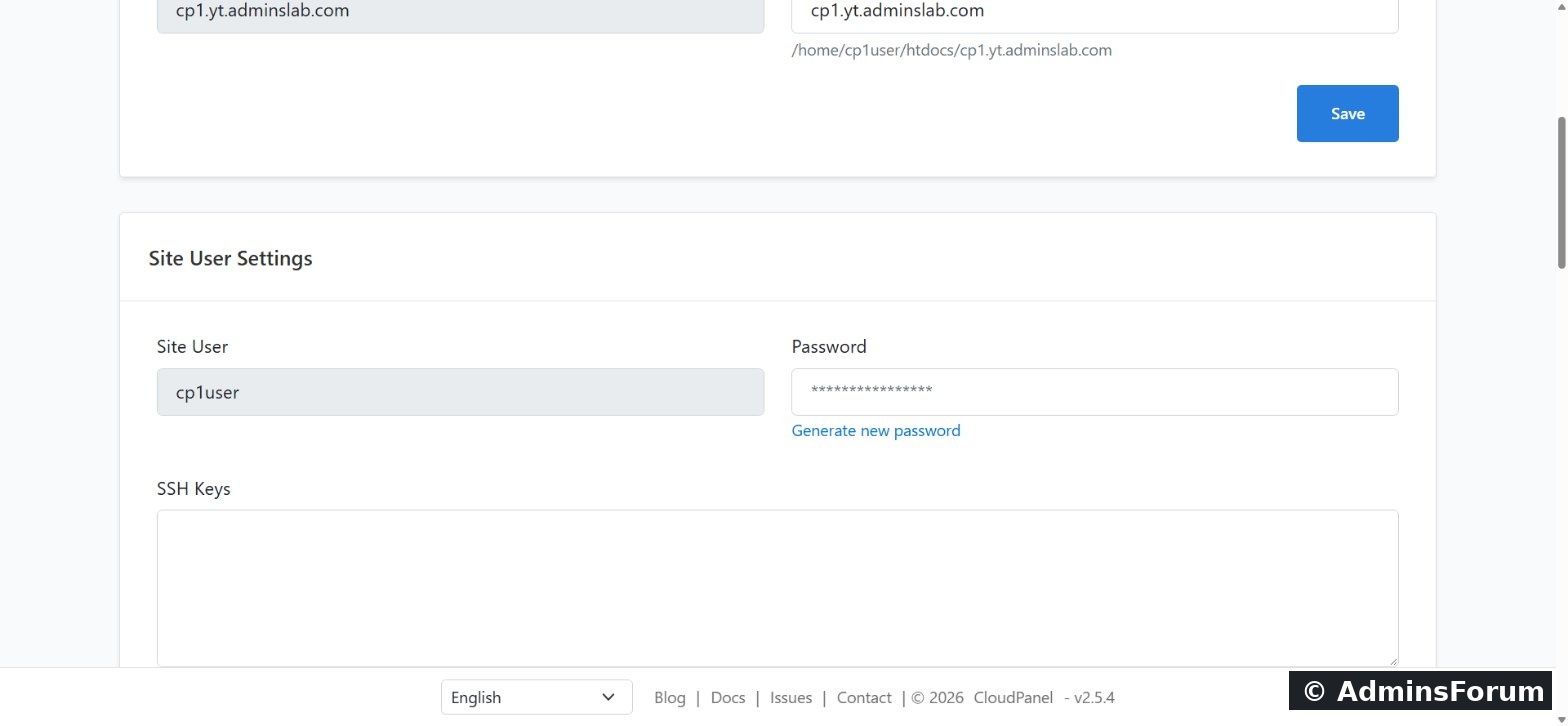
Further down you can generate a new password for the site user, or paste your public SSH key to log in without a password.
Step 8: Tune PHP for this site
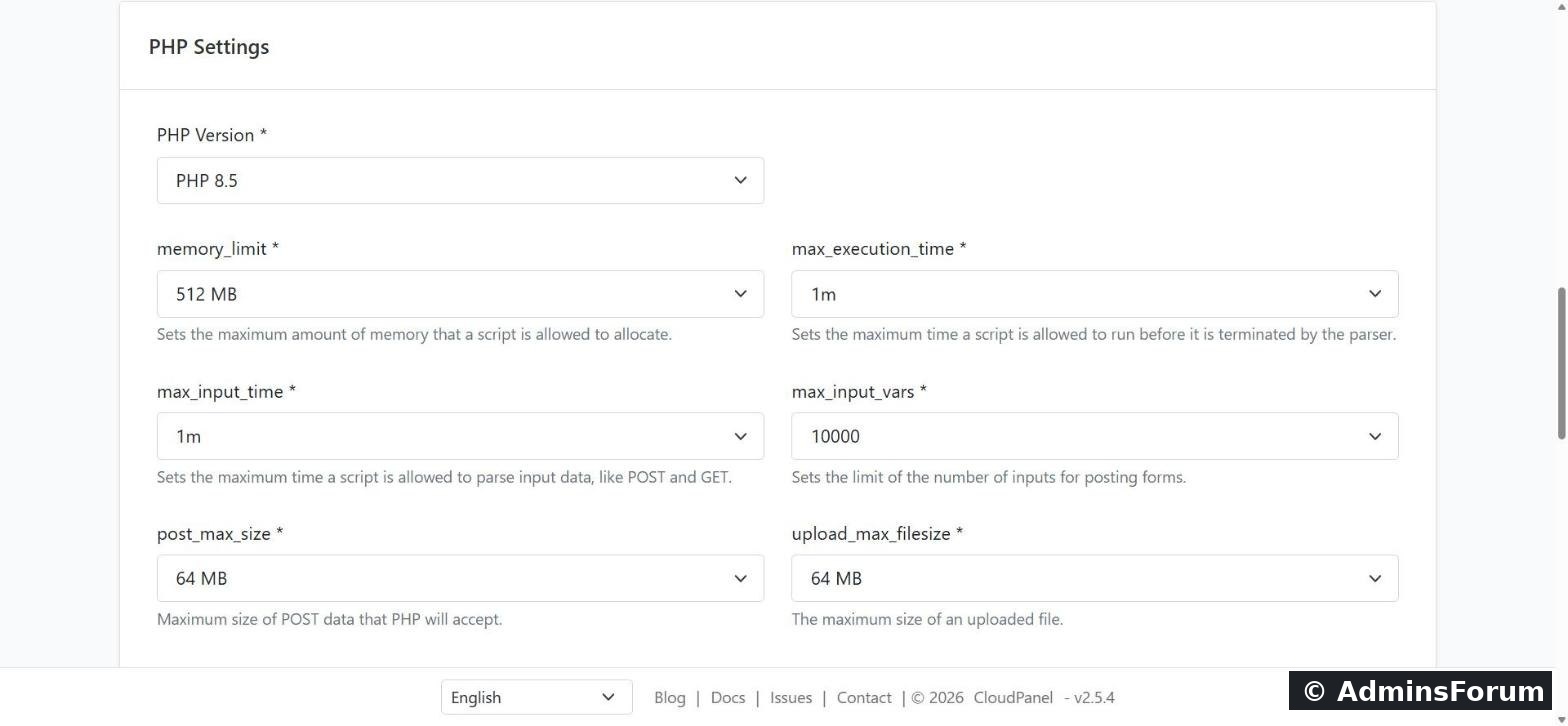
In PHP Settings you can switch the PHP version at any time and set memory_limit, max_execution_time, max_input_time, max_input_vars, post_max_size and upload_max_filesize for this site only, without editing any config files.
Step 9 (optional): The Nginx vhost
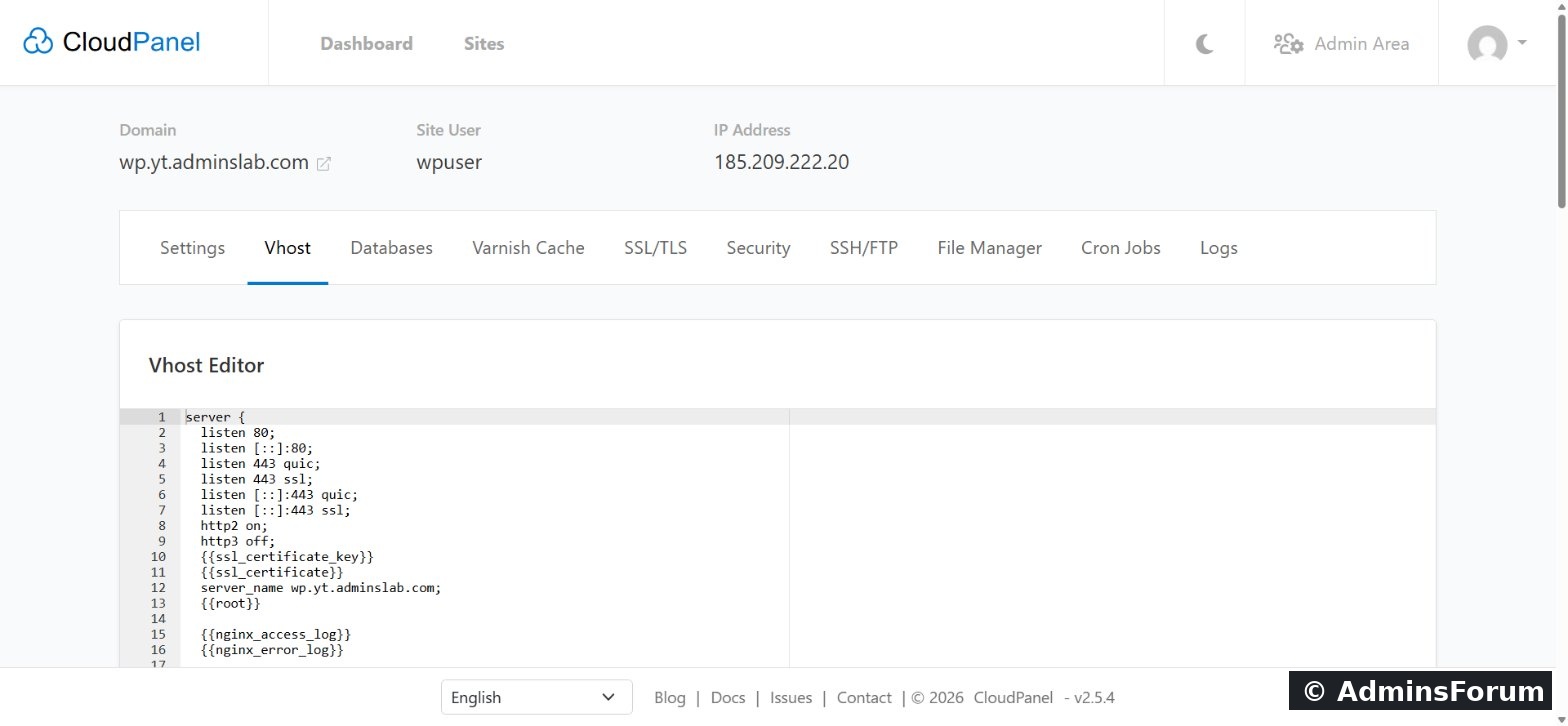
The Vhost tab holds the site's full Nginx configuration. CloudPanel fills in the placeholders for certificates, root and logs. You rarely need it, but it's there for custom redirects, headers or rules, and the config is tested before it's saved.
Prefer the command line?
As root, clpctl can create the same site, for example:
Next steps
Stuck? Ask in CloudPanel Sites & Nginx Support.
CloudPanel guide series
This guide walks through adding a PHP site in CloudPanel, from the Add Site button to tuning PHP and Nginx. It's tested on CloudPanel 2.5.4 on Ubuntu 24.04, and every screenshot is from that server.
You'll need: CloudPanel installed and your admin login, plus a domain (or subdomain) you control. Pointing its DNS A record at the server now saves time later when you add SSL.
Step 1: Open Sites → Add Site
Log in to CloudPanel, open Sites and click + Add Site.
Step 2: Choose "Create a PHP Site"
CloudPanel asks what kind of site you want. WordPress has its own one-click option (see our WordPress guide); for any other PHP code choose Create a PHP Site.
Step 3: Pick the application
The Application menu writes the right Nginx configuration for you. Generic works for most PHP code. For frameworks and shops pick the matching template (Laravel, Symfony, Magento, WooCommerce and others) so the rewrite rules are correct from the start.
Step 4: Domain, PHP version and site user
- Domain Name: the domain or subdomain for this site.
- PHP Version: any version from 7.1 to 8.5. We used 8.5, the newest.
- Site User: a real Linux user that will own the files and run the site's PHP processes. Each site gets its own, which keeps sites isolated from each other.
- Site User Password: CloudPanel generates a strong one. Save it in your password manager before you click Create.
Step 5: The site is created
A few seconds later the site appears in the list with its site user and app type. Click Manage to open it.
Step 6: Check the root directory
The Settings tab shows the domain and its Root Directory. Frameworks like Laravel serve from a
Code:
publicUnderneath is the full path where your code goes:
Code:
/home/SITE_USER/htdocs/YOUR_DOMAINStep 7: Site user password and SSH keys
Further down you can generate a new password for the site user, or paste your public SSH key to log in without a password.
Step 8: Tune PHP for this site
In PHP Settings you can switch the PHP version at any time and set memory_limit, max_execution_time, max_input_time, max_input_vars, post_max_size and upload_max_filesize for this site only, without editing any config files.
Step 9 (optional): The Nginx vhost
The Vhost tab holds the site's full Nginx configuration. CloudPanel fills in the placeholders for certificates, root and logs. You rarely need it, but it's there for custom redirects, headers or rules, and the config is tested before it's saved.
Prefer the command line?
As root, clpctl can create the same site, for example:
Code:
clpctl site:add:php --domainName=example.com --phpVersion=8.5 --vhostTemplate='Generic' --siteUser=example --siteUserPassword='a-strong-password'Next steps
- Add a free Let's Encrypt certificate: How to install free SSL in CloudPanel (CloudPanel Domains, DNS & SSL Guides).
- Create a database: CloudPanel databases and phpMyAdmin (CloudPanel Databases & phpMyAdmin Guides).
- Upload your files: CloudPanel SSH, SFTP, FTP and File Manager (CloudPanel Users, SSH & SFTP Guides).
Stuck? Ask in CloudPanel Sites & Nginx Support.
CloudPanel guide series
- What is CloudPanel? Complete overview
- CloudPanel system requirements
- CloudPanel features: the complete list
- How to create a PHP site (you are here)
- How to install free Let's Encrypt SSL
- How to install WordPress (one-click)
- Databases, users and phpMyAdmin
- SSH, SFTP, FTP and File Manager
- Cron jobs, logs and Varnish Cache
- Backups, firewall and Basic Auth