



How to install a free Let's Encrypt SSL certificate in CloudPanel
Every new CloudPanel site starts with a self-signed certificate, so HTTPS works but browsers show a warning. This guide replaces it with a free, trusted Let's Encrypt certificate that CloudPanel renews automatically. Tested on CloudPanel 2.5.4, Ubuntu 24.04.
Before you start
Let's Encrypt checks that you control the domain by connecting to it over port 80. So:
Step 1: Open the site's SSL/TLS tab
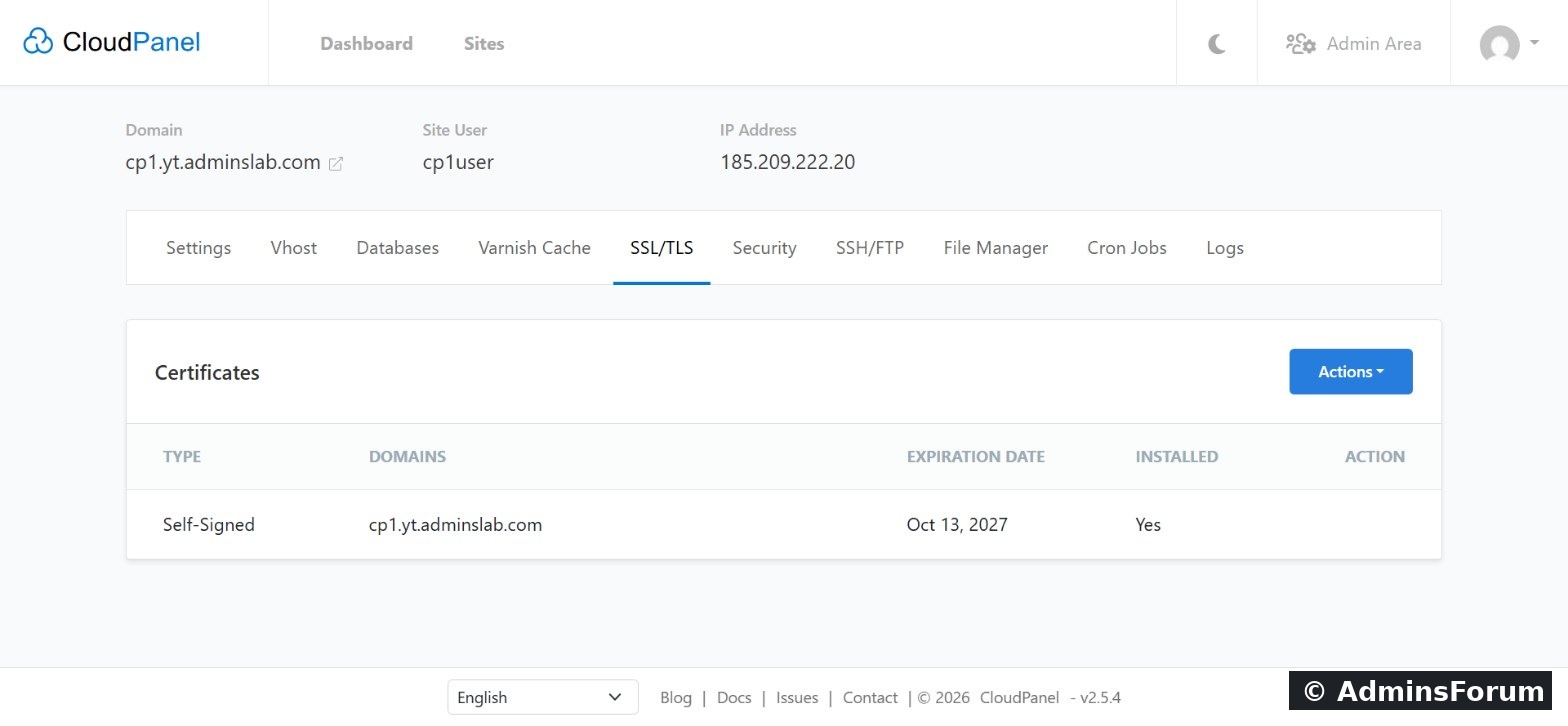
Open Sites, click Manage on your site and go to SSL/TLS. You'll see the self-signed certificate.
Step 2: Actions → New Let's Encrypt Certificate
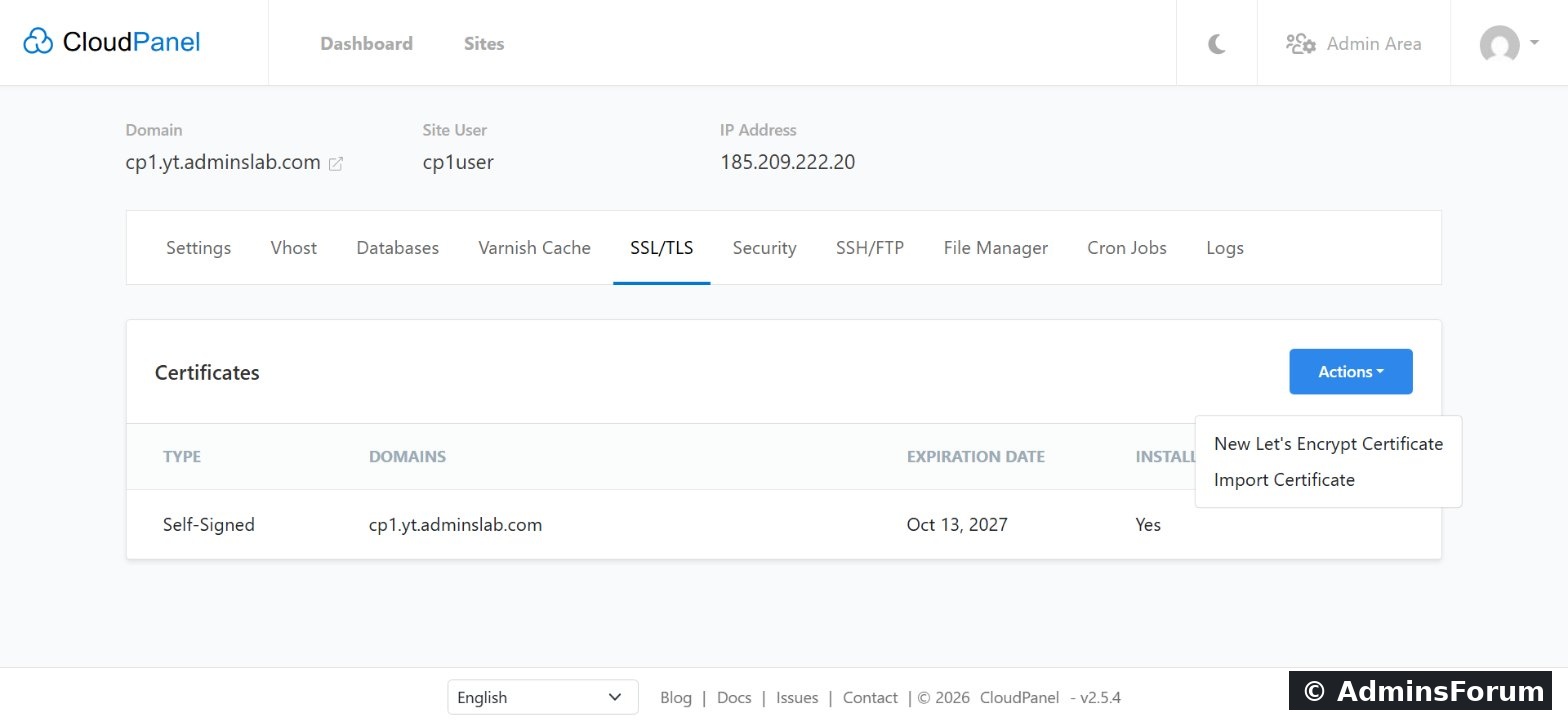
Click Actions, then New Let's Encrypt Certificate. (If you bought a certificate elsewhere, Import Certificate is the option for that.)
Step 3: Confirm the domain names
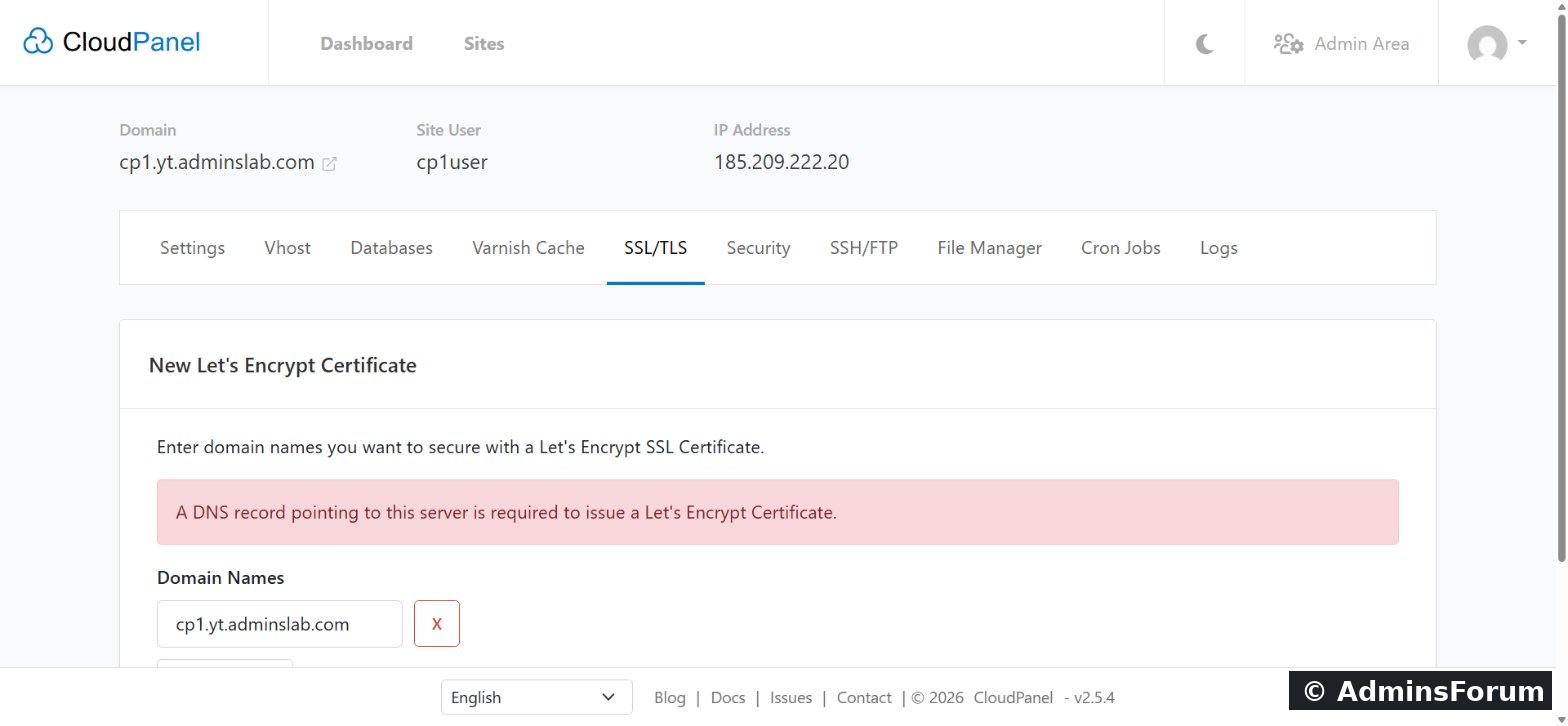
CloudPanel fills in the site's domain. Add any other names that point to this site, such as the www version, then click Create and Install. If you see "A DNS record pointing to this server is required", fix DNS first.
Step 4: Done
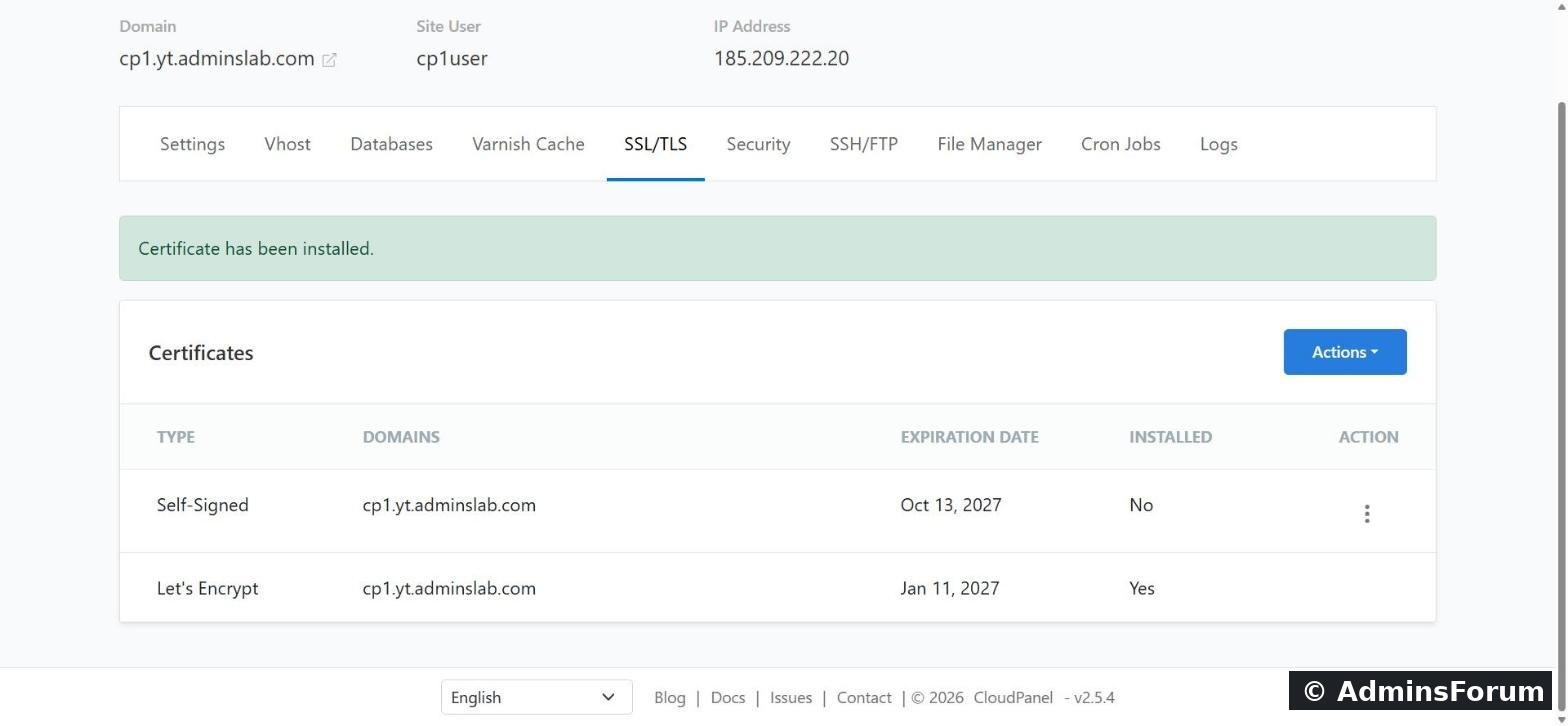
A few seconds later: Certificate has been installed.
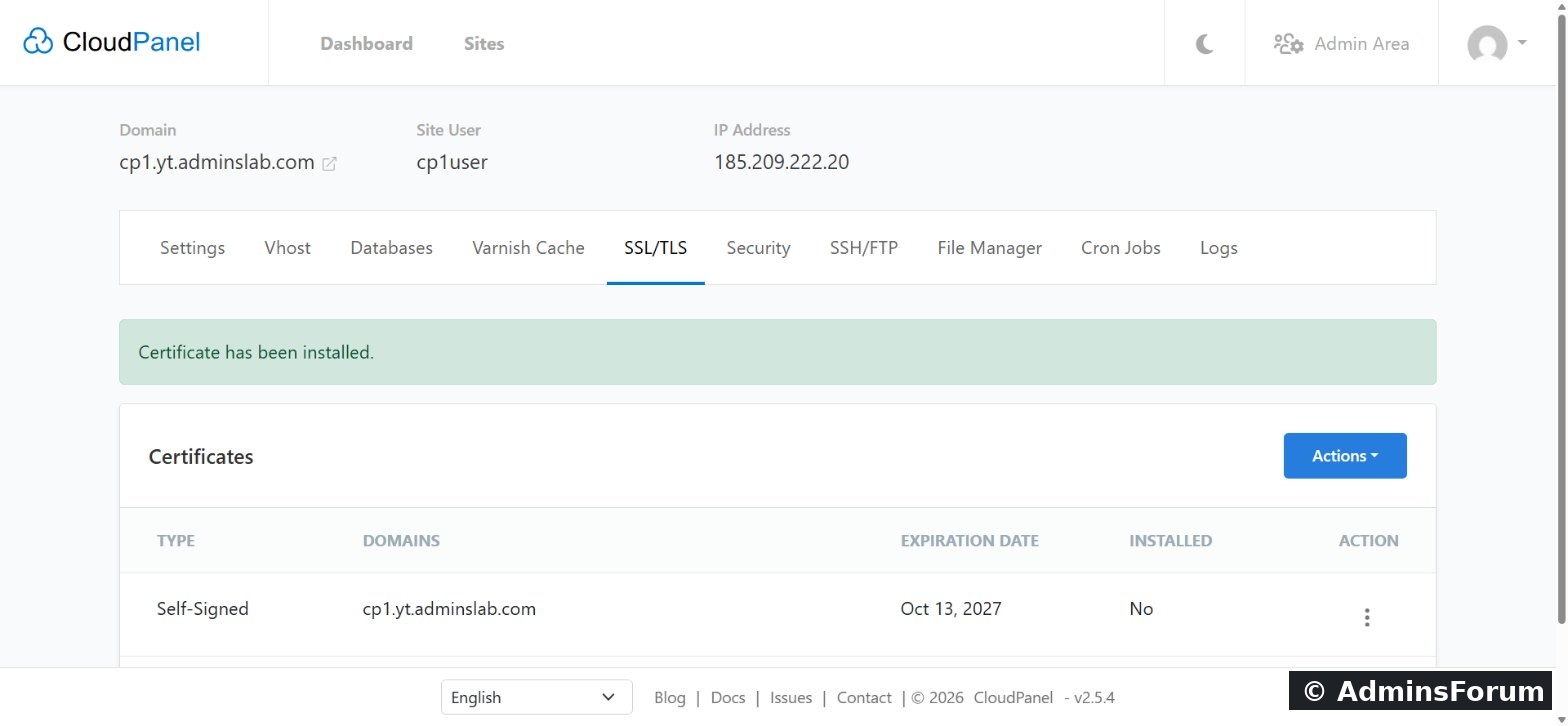
The Let's Encrypt certificate is now the installed one. It's valid for 90 days, and CloudPanel renews it automatically before it expires, so there's nothing to remember.
Step 5: Repeat for every site
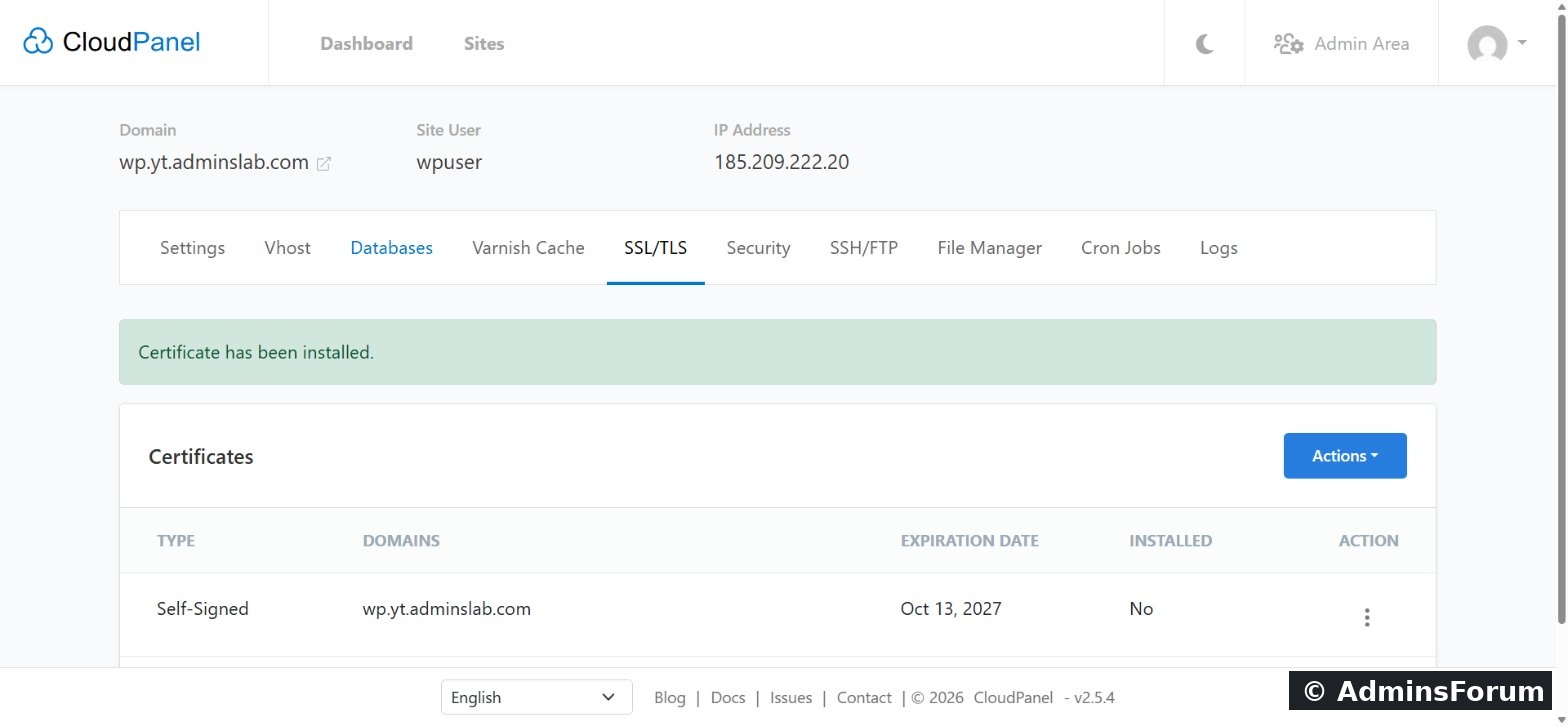
Do the same for each site you add. Here's our WordPress site with its certificate installed the same way:
If you use Cloudflare, you can now switch the proxy back on (orange cloud) and set SSL/TLS mode to Full (strict).
Command-line alternative
As root, clpctl issues the same certificate:
Then confirm HTTPS works:
You should see HTTP/2 200.
Troubleshooting
Need help? Ask in CloudPanel Domains, DNS & SSL Support.
CloudPanel guide series
Every new CloudPanel site starts with a self-signed certificate, so HTTPS works but browsers show a warning. This guide replaces it with a free, trusted Let's Encrypt certificate that CloudPanel renews automatically. Tested on CloudPanel 2.5.4, Ubuntu 24.04.
Before you start
Let's Encrypt checks that you control the domain by connecting to it over port 80. So:
- The domain's DNS A record must already point at your server. Check it from your computer:
It should print your server's IP.Code:dig +short example.com
- Port 80 must be open (it is in CloudPanel's default firewall; also check your cloud provider's firewall).
- Using Cloudflare? Set the record to DNS only (grey cloud) while the certificate is issued.
Step 1: Open the site's SSL/TLS tab
Open Sites, click Manage on your site and go to SSL/TLS. You'll see the self-signed certificate.
Step 2: Actions → New Let's Encrypt Certificate
Click Actions, then New Let's Encrypt Certificate. (If you bought a certificate elsewhere, Import Certificate is the option for that.)
Step 3: Confirm the domain names
CloudPanel fills in the site's domain. Add any other names that point to this site, such as the www version, then click Create and Install. If you see "A DNS record pointing to this server is required", fix DNS first.
Step 4: Done
A few seconds later: Certificate has been installed.
The Let's Encrypt certificate is now the installed one. It's valid for 90 days, and CloudPanel renews it automatically before it expires, so there's nothing to remember.
Step 5: Repeat for every site
Do the same for each site you add. Here's our WordPress site with its certificate installed the same way:
If you use Cloudflare, you can now switch the proxy back on (orange cloud) and set SSL/TLS mode to Full (strict).
Command-line alternative
As root, clpctl issues the same certificate:
Code:
clpctl lets-encrypt:install:certificate --domainName=example.com --subjectAlternativeName=www.example.comCode:
curl -sI https://example.com | head -1Troubleshooting
- "A DNS record pointing to this server is required": the A record is missing or points elsewhere, or Cloudflare's proxy is on. Fix DNS, wait for it to update, try again.
- Validation fails: port 80 is blocked by your provider's firewall or security group.
- www doesn't work: add a DNS record for www too, and include it in the certificate's domain names.
Need help? Ask in CloudPanel Domains, DNS & SSL Support.
CloudPanel guide series
- What is CloudPanel? Complete overview
- CloudPanel system requirements
- CloudPanel features: the complete list
- How to create a PHP site
- How to install free Let's Encrypt SSL (you are here)
- How to install WordPress (one-click)
- Databases, users and phpMyAdmin
- SSH, SFTP, FTP and File Manager
- Cron jobs, logs and Varnish Cache
- Backups, firewall and Basic Auth