



CloudPanel databases: create a database and users, and use phpMyAdmin
In CloudPanel, databases belong to a site. This guide shows how to create a database and user, add extra users with limited rights, open phpMyAdmin, handle large imports from the command line, and where CloudPanel keeps automatic database backups. Tested on CloudPanel 2.5.4, Ubuntu 24.04, MySQL 8.4.
Step 1: Open the site's Databases tab
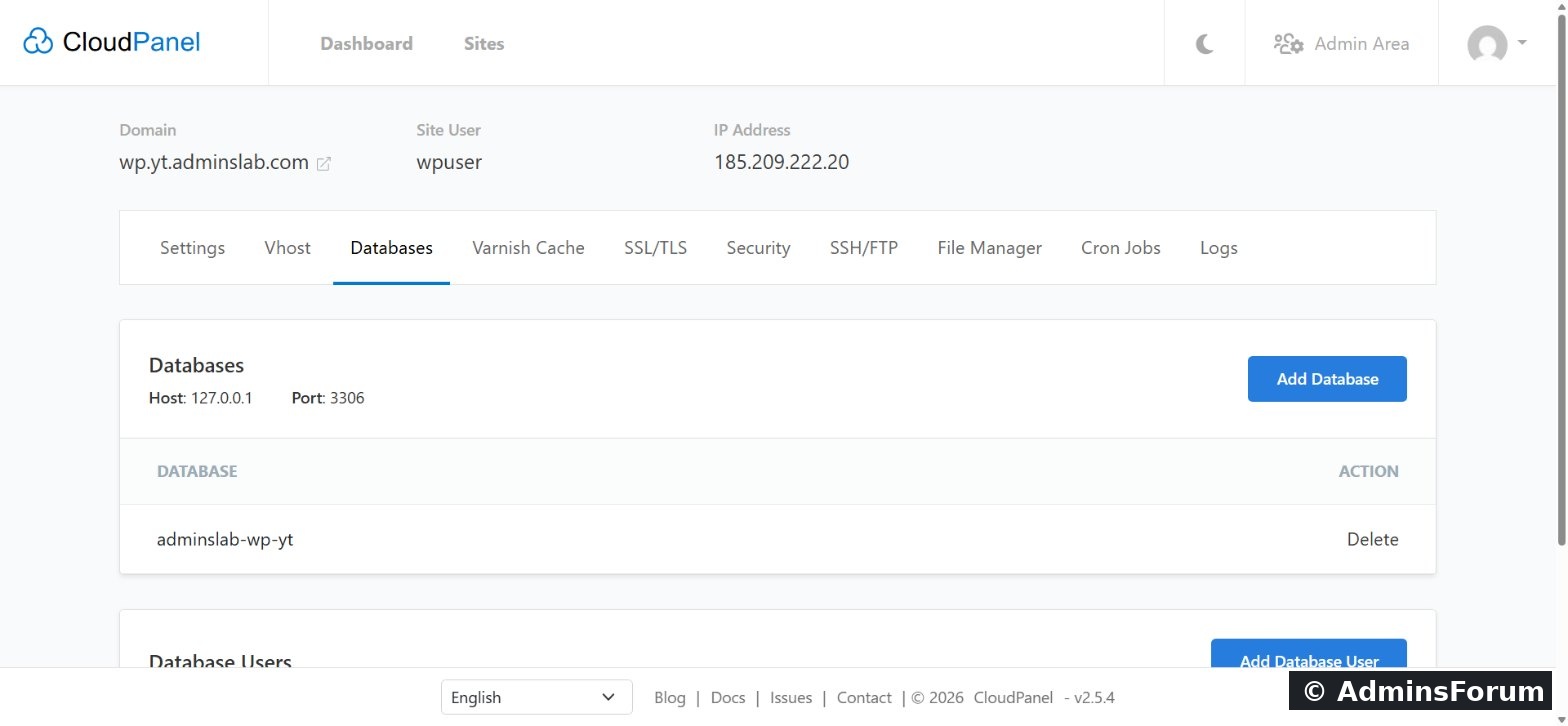
Open Sites → Manage → Databases. Our WordPress database is already listed, created by the one-click installer. Note the connection details at the top: host 127.0.0.1, port 3306. Your app uses these.
Step 2: Add a database
Click Add Database and enter a database name, a database user name and a password. CloudPanel creates both and grants the user access in one step.
Step 3: Add extra database users
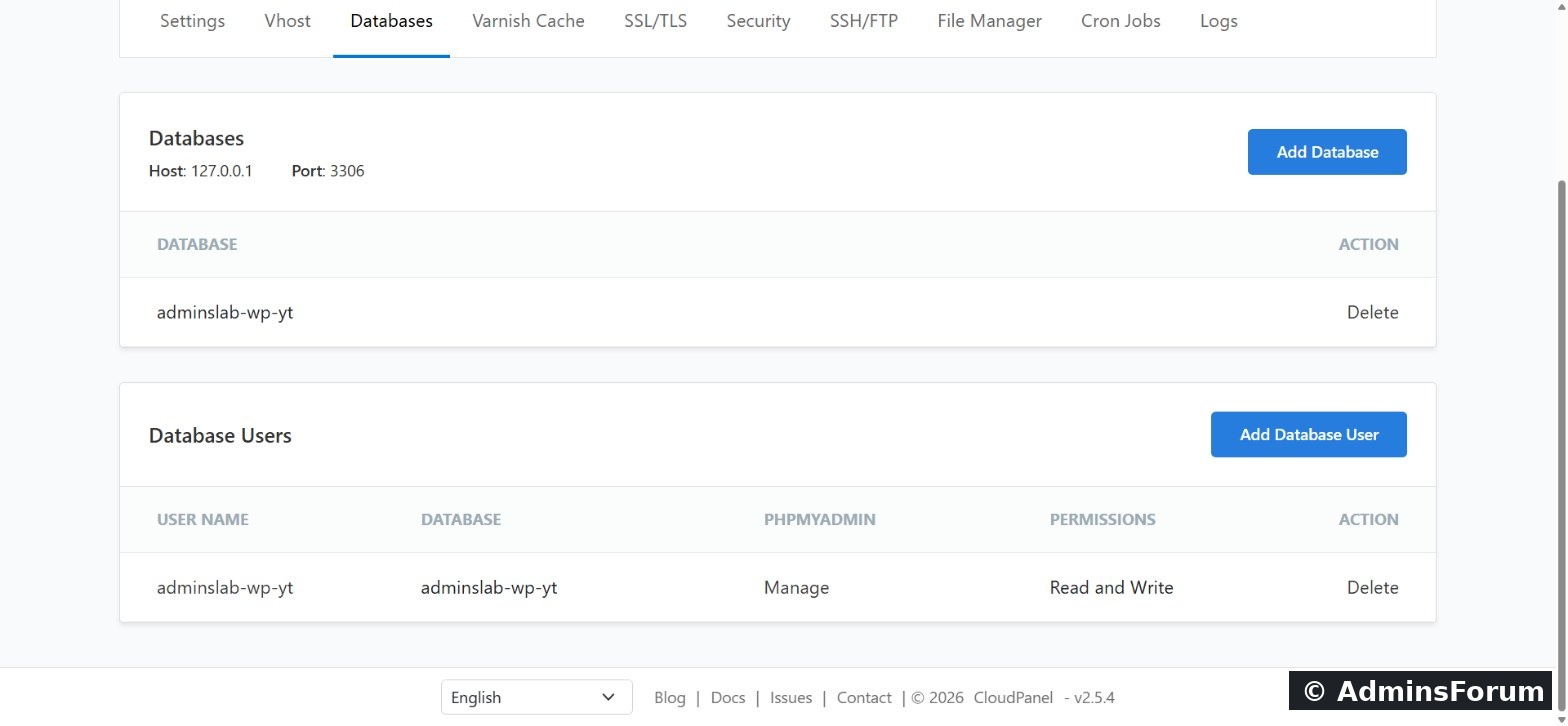
The Database Users list shows every user, the database it can reach and its permissions. Use Add Database User for extra users, with Read and Write or Read Only access. A read-only user is ideal for reporting or backup tools, which then can never change your data.
Step 4: Open phpMyAdmin with one click
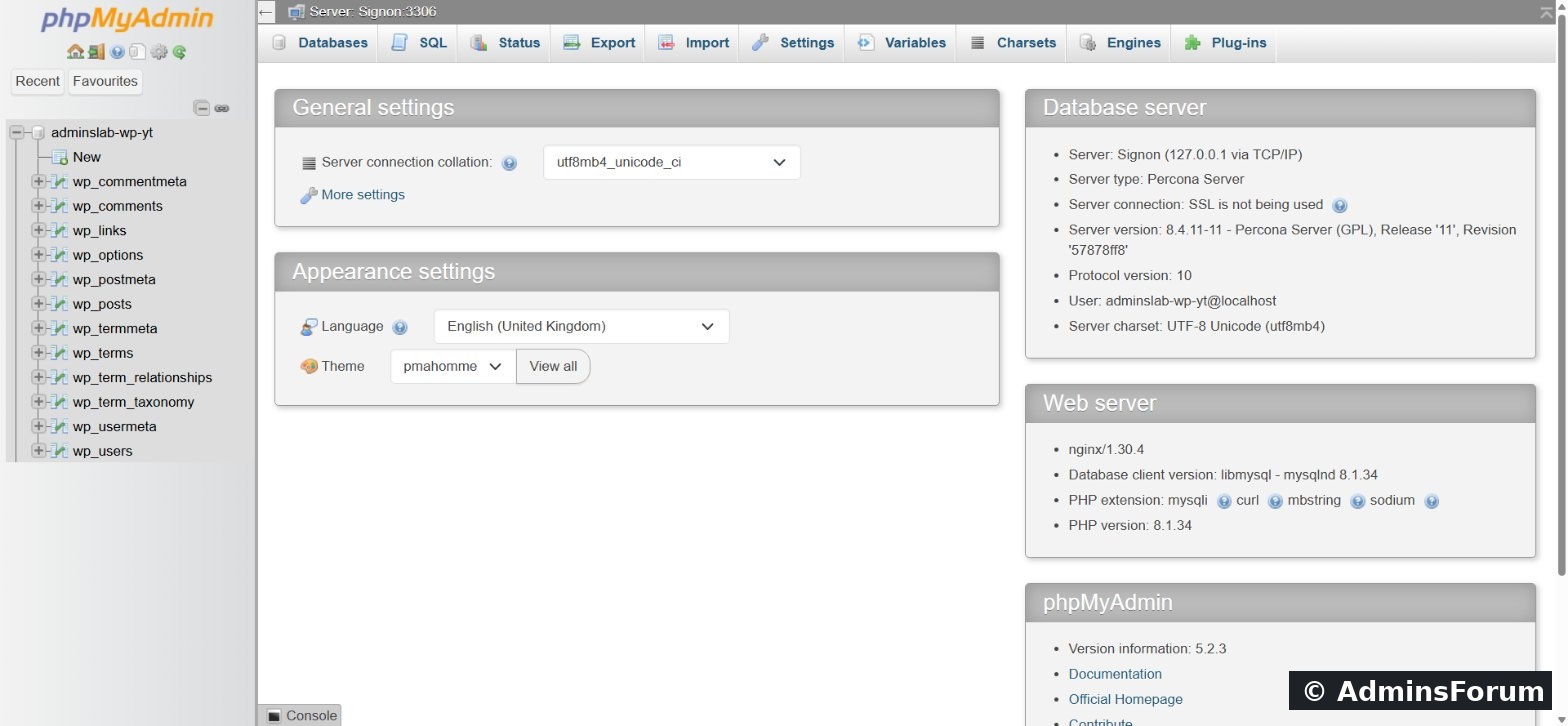
Click Manage next to a database user and phpMyAdmin opens already logged in as that user, with no extra password to type. Browse tables, run SQL, and import or export from the tabs at the top.
On the right, phpMyAdmin shows the server. On our install it's Percona Server 8.4, a drop-in MySQL build, chosen when we ran the installer.
Step 5: Big imports and exports with clpctl
Large databases can time out in the browser. As root, use clpctl instead:
Automatic database backups
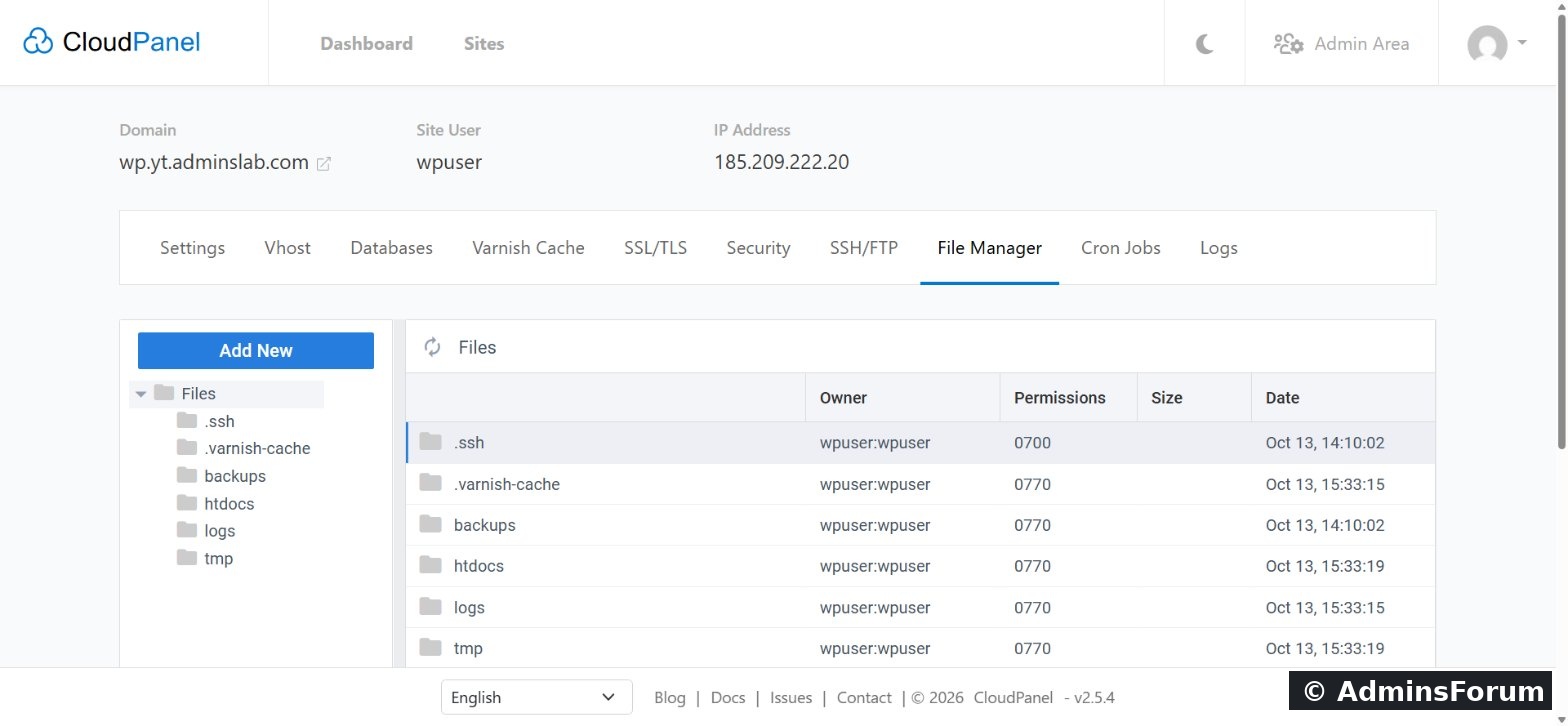
CloudPanel also dumps every database automatically each night (at 03:15 on our server) into the backups folder in the site user's home, and keeps 7 days of them. It's a useful safety net, but it's on the same server, so also set up remote backups in the Admin Area.
Tips
Questions? Ask in CloudPanel Databases & phpMyAdmin Support.
CloudPanel guide series
In CloudPanel, databases belong to a site. This guide shows how to create a database and user, add extra users with limited rights, open phpMyAdmin, handle large imports from the command line, and where CloudPanel keeps automatic database backups. Tested on CloudPanel 2.5.4, Ubuntu 24.04, MySQL 8.4.
Step 1: Open the site's Databases tab
Open Sites → Manage → Databases. Our WordPress database is already listed, created by the one-click installer. Note the connection details at the top: host 127.0.0.1, port 3306. Your app uses these.
Step 2: Add a database
Click Add Database and enter a database name, a database user name and a password. CloudPanel creates both and grants the user access in one step.
Step 3: Add extra database users
The Database Users list shows every user, the database it can reach and its permissions. Use Add Database User for extra users, with Read and Write or Read Only access. A read-only user is ideal for reporting or backup tools, which then can never change your data.
Step 4: Open phpMyAdmin with one click
Click Manage next to a database user and phpMyAdmin opens already logged in as that user, with no extra password to type. Browse tables, run SQL, and import or export from the tabs at the top.
On the right, phpMyAdmin shows the server. On our install it's Percona Server 8.4, a drop-in MySQL build, chosen when we ran the installer.
Step 5: Big imports and exports with clpctl
Large databases can time out in the browser. As root, use clpctl instead:
Code:
# export a compressed dump
clpctl db:export --databaseName=my-database --file=/tmp/dump.sql.gz

# import a dump
clpctl db:import --databaseName=my-database --file=/tmp/dump.sql.gz

# create a database and user from the shell
clpctl db:add --domainName=example.com --databaseName=my-database --databaseUserName=myuser --databaseUserPassword='a-strong-password'

# show the database root (master) login
clpctl db:show:master-credentials
Automatic database backups
CloudPanel also dumps every database automatically each night (at 03:15 on our server) into the backups folder in the site user's home, and keeps 7 days of them. It's a useful safety net, but it's on the same server, so also set up remote backups in the Admin Area.
Tips
- Give each app its own database user, and use read-only users wherever writing isn't needed.
- Never expose port 3306 in the firewall; apps on the same server connect via 127.0.0.1.
- Keep the master credentials for emergencies only.
Questions? Ask in CloudPanel Databases & phpMyAdmin Support.
CloudPanel guide series
- What is CloudPanel? Complete overview
- CloudPanel system requirements
- CloudPanel features: the complete list
- How to create a PHP site
- How to install free Let's Encrypt SSL
- How to install WordPress (one-click)
- Databases, users and phpMyAdmin (you are here)
- SSH, SFTP, FTP and File Manager
- Cron jobs, logs and Varnish Cache
- Backups, firewall and Basic Auth