



Yesterday, 07:11 AM
A backup is useful only when you can rebuild and run the application from it. This SSH-based guide backs up a small Flask project hosted by aaPanel, restores it outside the live website folder and tests it on a separate localhost port.
Tested lab: Ubuntu 22.04.5, aaPanel Free 8.0.7 and a Flask/Gunicorn sample. This is a source-and-dependency recovery exercise, not a complete VPS image or a walkthrough of an aaPanel backup plugin.
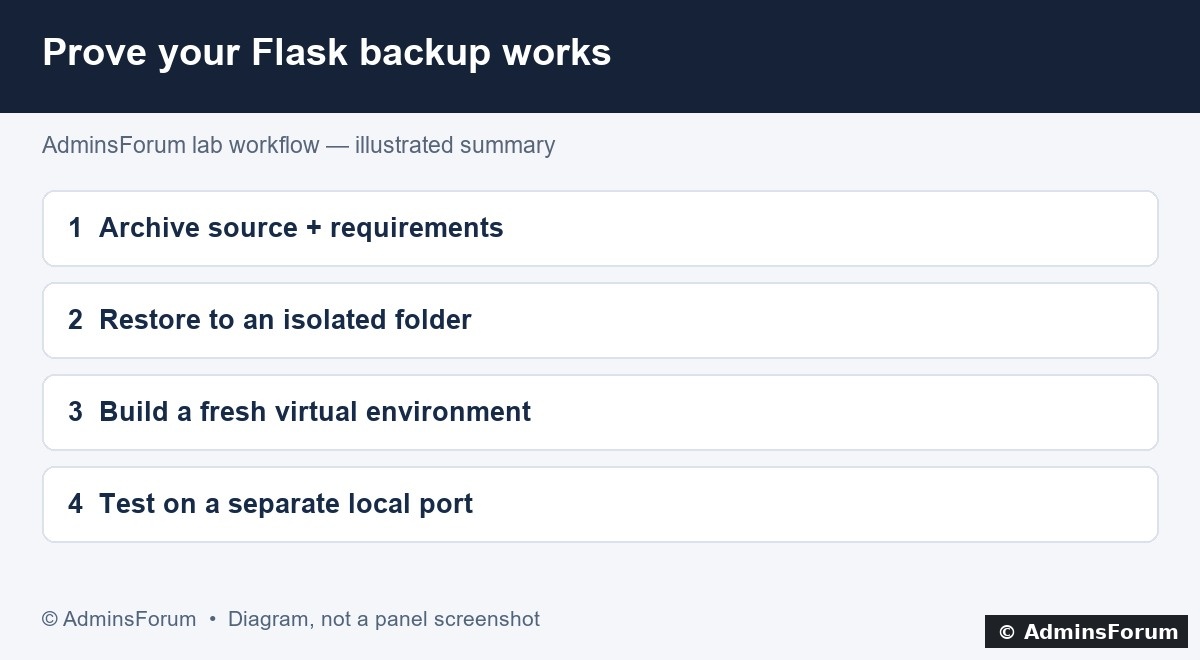
Restore workflow diagram. The live app and the recovery test remain separate.
1. Define what must be recovered
Our sample has app.py and requirements.txt and no database, uploads or secret configuration. A real app may also need a consistent database export, uploaded files, environment secrets, Nginx configuration and its startup settings. Inventory those separately before claiming a complete backup.
The live project directory is /www/wwwroot/af-flask-lab. Its Gunicorn command uses app:app and binds 127.0.0.1:3200. Record your environment path, Python version, startup user, domain and mapping port in a protected recovery note.
2. Record the application's packages
Place a reviewed requirements.txt beside app.py. Our small sample contains:
These are the versions tested in this lab. This pins direct dependencies; it does not lock every transitive dependency. For stronger repeatability, retain a reviewed full dependency snapshot or a suitable lock file and test it in a clean environment.
3. Create a protected source archive
Choose a new archive name so you do not overwrite an older recovery point. From the VPS terminal, the equivalent command for our two-file sample is:
Check that both expected files are listed. Our archive was 377 bytes because this is a tiny text-only sample, not a full production application.
Do not publish backup archives inside a website document root. Rebuild the virtual environment rather than assuming a copied environment is portable between server paths or operating systems. Save a protected off-site copy through your approved backup destination; a local archive alone does not protect against losing the VPS. Off-site transfer was not performed in this exercise.
4. Restore into a new isolated directory
Use a new directory that does not already contain files:
Only extract your trusted archive after inspecting its file list. Do not extract into the live project for a rehearsal. The restored app is now under /www/af-flask-restore-20261014/af-flask-lab.
Compare app.py and requirements.txt with the source copies. For example:
Our test compared both files with SHA-256 and both matched. A matching hash proves the file content matches; it does not yet prove the app can run.
5. Build a fresh environment
Use a Python version compatible with the application. Our existing lab uses /usr/bin/python3.10; choose a maintained compatible release for a new deployment. Ubuntu's matching venv package must already be installed.
Our fresh environment installed the recorded direct versions and pip check reported No broken requirements found. Install from trusted package sources. If your project needs OS libraries, document and rebuild those too.
6. Run the restored app on a different local port
Set permissions only on the isolated restore directory for the intended application user. In our lab that user is www. From an administrator terminal:
This foreground command occupies that terminal. From a second terminal:
Our restore returned HTTP 200 and AdminsForum Flask lab. Port 3202 stayed local and did not replace the live app on 3200. Stop the foreground recovery process with Ctrl+C when the test is finished. We stopped the temporary test process and rechecked the live HTTPS site, which still returned HTTP 200.
Before using this for a real recovery
Test database connectivity, uploads, background jobs, secrets, logging and the expected user workflow. A two-file Flask test cannot establish those properties. Restore missing resources before changing the live domain or project path. Plan cutover and rollback separately; a rehearsal should not overwrite your running deployment.
Completion checklist
AdminsForum lab-tested guide. Illustration is a workflow diagram; commands describe the tested SSH recovery method.
Tested lab: Ubuntu 22.04.5, aaPanel Free 8.0.7 and a Flask/Gunicorn sample. This is a source-and-dependency recovery exercise, not a complete VPS image or a walkthrough of an aaPanel backup plugin.
Restore workflow diagram. The live app and the recovery test remain separate.
1. Define what must be recovered
Our sample has app.py and requirements.txt and no database, uploads or secret configuration. A real app may also need a consistent database export, uploaded files, environment secrets, Nginx configuration and its startup settings. Inventory those separately before claiming a complete backup.
The live project directory is /www/wwwroot/af-flask-lab. Its Gunicorn command uses app:app and binds 127.0.0.1:3200. Record your environment path, Python version, startup user, domain and mapping port in a protected recovery note.
2. Record the application's packages
Place a reviewed requirements.txt beside app.py. Our small sample contains:
Code:
Flask==3.1.3
gunicorn==26.2.03. Create a protected source archive
Choose a new archive name so you do not overwrite an older recovery point. From the VPS terminal, the equivalent command for our two-file sample is:
Code:
tar -czf /www/backup/af-flask-20261014.tar.gz   -C /www/wwwroot af-flask-lab/app.py af-flask-lab/requirements.txt
chmod 600 /www/backup/af-flask-20261014.tar.gz
tar -tzf /www/backup/af-flask-20261014.tar.gzDo not publish backup archives inside a website document root. Rebuild the virtual environment rather than assuming a copied environment is portable between server paths or operating systems. Save a protected off-site copy through your approved backup destination; a local archive alone does not protect against losing the VPS. Off-site transfer was not performed in this exercise.
4. Restore into a new isolated directory
Use a new directory that does not already contain files:
Code:
mkdir /www/af-flask-restore-20261014
tar -xzf /www/backup/af-flask-20261014.tar.gz -C /www/af-flask-restore-20261014Compare app.py and requirements.txt with the source copies. For example:
Code:
sha256sum /www/wwwroot/af-flask-lab/app.py
sha256sum /www/af-flask-restore-20261014/af-flask-lab/app.py5. Build a fresh environment
Use a Python version compatible with the application. Our existing lab uses /usr/bin/python3.10; choose a maintained compatible release for a new deployment. Ubuntu's matching venv package must already be installed.
Code:
python3 -m venv /www/af-flask-restore-20261014/venv
/www/af-flask-restore-20261014/venv/bin/python -m pip install   -r /www/af-flask-restore-20261014/af-flask-lab/requirements.txt
/www/af-flask-restore-20261014/venv/bin/python -m pip check6. Run the restored app on a different local port
Set permissions only on the isolated restore directory for the intended application user. In our lab that user is www. From an administrator terminal:
Code:
chown -R www:www /www/af-flask-restore-20261014
cd /www/af-flask-restore-20261014/af-flask-lab
runuser -u www -- /www/af-flask-restore-20261014/venv/bin/gunicorn --workers 1 --bind 127.0.0.1:3202 app:appCode:
curl -i http://127.0.0.1:3202/Before using this for a real recovery
Test database connectivity, uploads, background jobs, secrets, logging and the expected user workflow. A two-file Flask test cannot establish those properties. Restore missing resources before changing the live domain or project path. Plan cutover and rollback separately; a rehearsal should not overwrite your running deployment.
Completion checklist
- Backup contents inspected and protected.
- Isolated restore directory used.
- Source file hashes compared.
- Fresh environment built and dependencies checked.
- Restored application tested on a separate local port.
- Temporary process stopped and live website checked.
- Off-site retention and application-specific data still included in the wider recovery plan.
AdminsForum lab-tested guide. Illustration is a workflow diagram; commands describe the tested SSH recovery method.